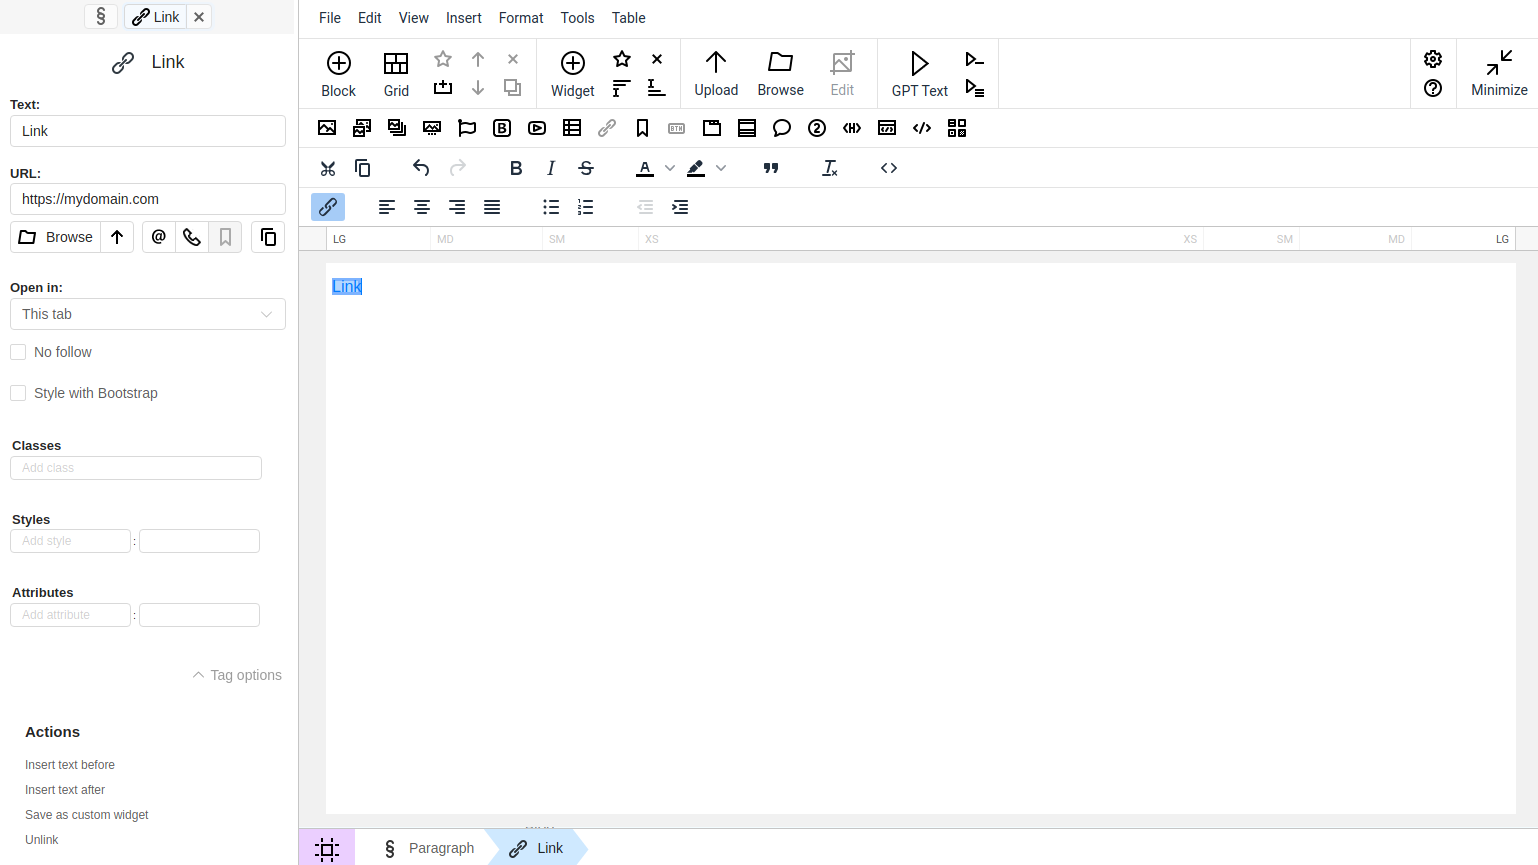
In N1ED, link creation is facilitated by a special widget called Link. Like the built-in Link plugins in CKEditor and TinyMCE, the Link widget lets you insert hyperlinks into your content and provides a UI to create and edit them.
In the widget settings on the sidebar, you can see the standard options for adding a link:
- "Text" - title for the link,
- "URL" - to link external resources,
- "Open in" - this option allows you to set where to display the linked URL: this tab (default state), new tab
target="_blank", or current frametarget="_self".
The widget gives you extra options such as adding CSS classes, styles and attributes.
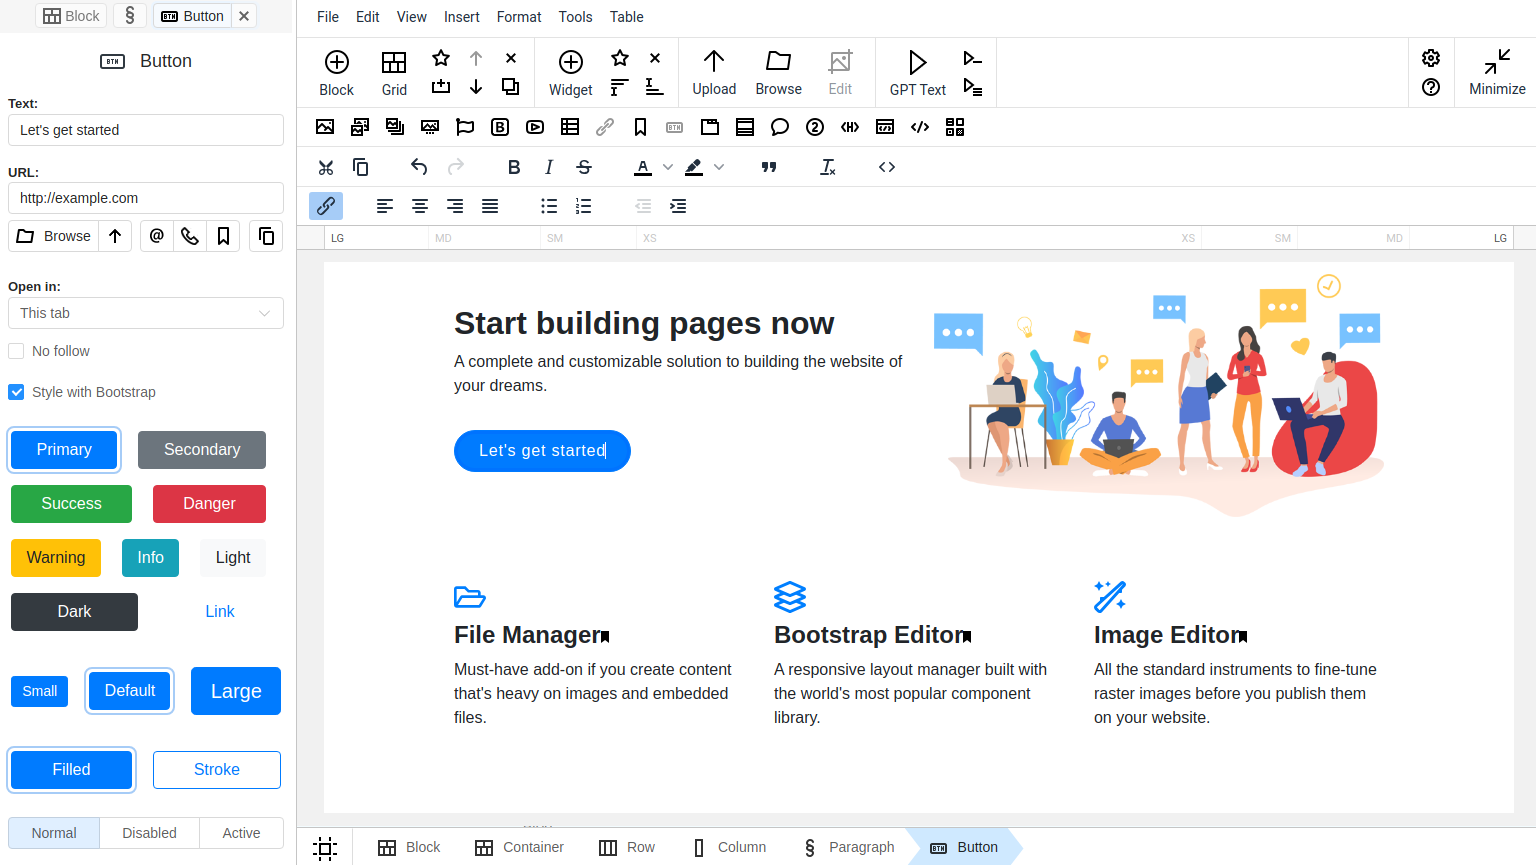
If you are using Bootstrap in your website theme, you can style your links with Bootstrap by using the "Style with Bootstrap" option. When you select this option, the link remains a link but gains an additional attribute role="button".
What the hyperlink points to?
URL
The URL that the hyperlink points to.
Link to a file
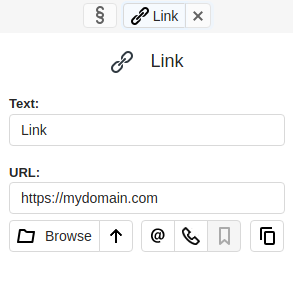
To insert a link to a file, use the Browse/Upload buttons. In the first case, the Flmngr will open to select a file already uploaded to the file manager. In the second case, a system dialog window will open to choose a file from your computer.
In the URL field, a URL to the file will be automatically generated, such as:
<a href="https://mydomain.com/files/file.pdf">File</a>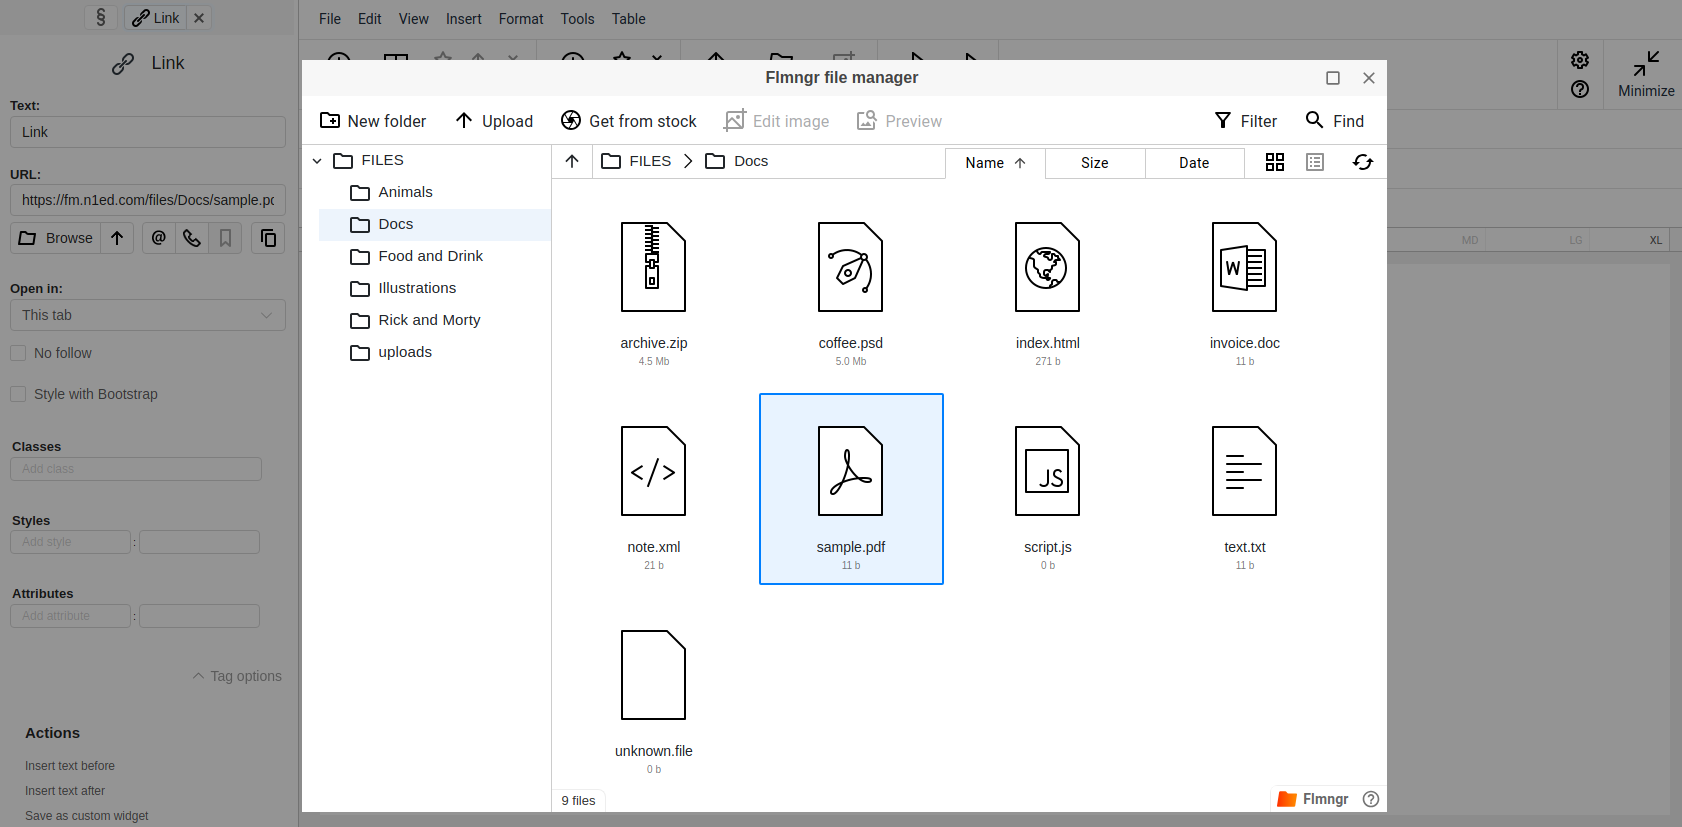
Email address
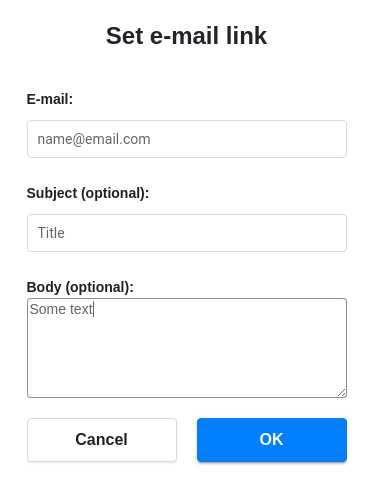
When selecting email, the Set e-mail link dialog will open. In the E-mail field, specify the email address. After inserting the link, the href attribute will appear as:
<a href="mailto:name@email.com">Email</a>Optionally, you can also set the Subject and Body of the email and pass them inside the href attribute, for example:
<a href="mailto:name@email.com?subject=Title%20of%20email&body=Some%20text">Email</a>This is especially useful when you need to create a link to an email address with a pre-filled inquiry on the page.
Telephone number
In the Set phone dialog that opens, specify the phone number, and you will receive a link in the following format:
<a href="tel:123-456-7890">Phone</a>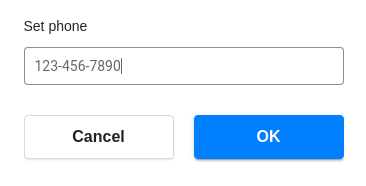
Link to a section of a page
If you have anchors created on the current page, such as within headers like <h2 id="anchorname">Header</h2> or other parts of the page, you can link to the desired section. To do this, select the Anchor button and choose the corresponding ID in the dialog that opens.
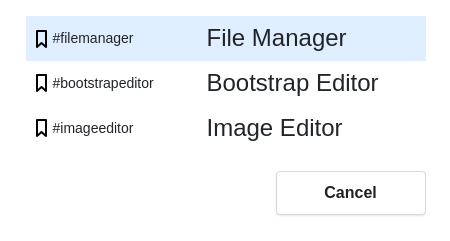
Anchors are particularly useful in longreads and landing pages for better navigation through the document. If there are no anchors on the page, this button will be disabled.
How to create a linking image?
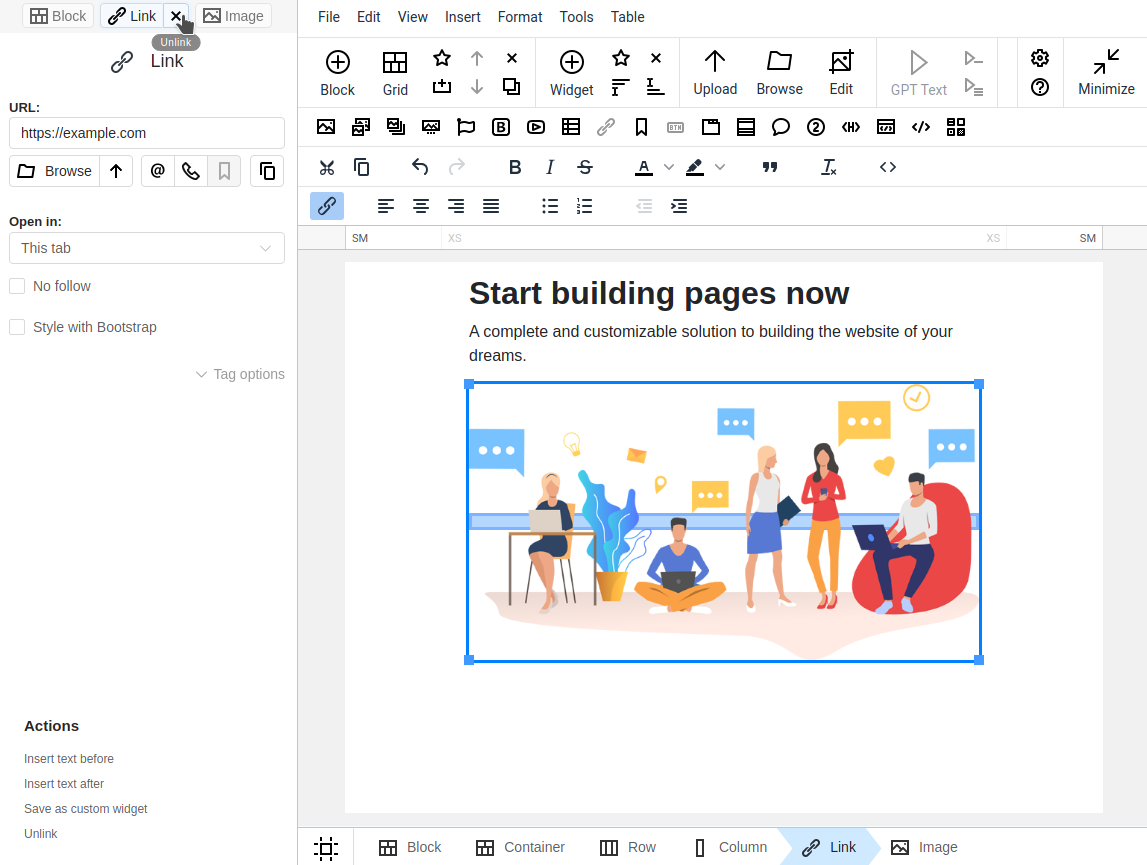
To make a picture a link in HTML, you can wrap the <img> element inside an <a> element. When users click on the image, they will be taken to the URL specified in the <a> element's href attribute.
Here's an html example:
<a href="https://example.com">
    <img src="https://example.com/image.jpg" alt="Description of the image">
</a>
This functionality is already provided and fully automated in N1ED, so you don't have to write your own code. To create a linking image, use the Wrap with link action for the selected picture.
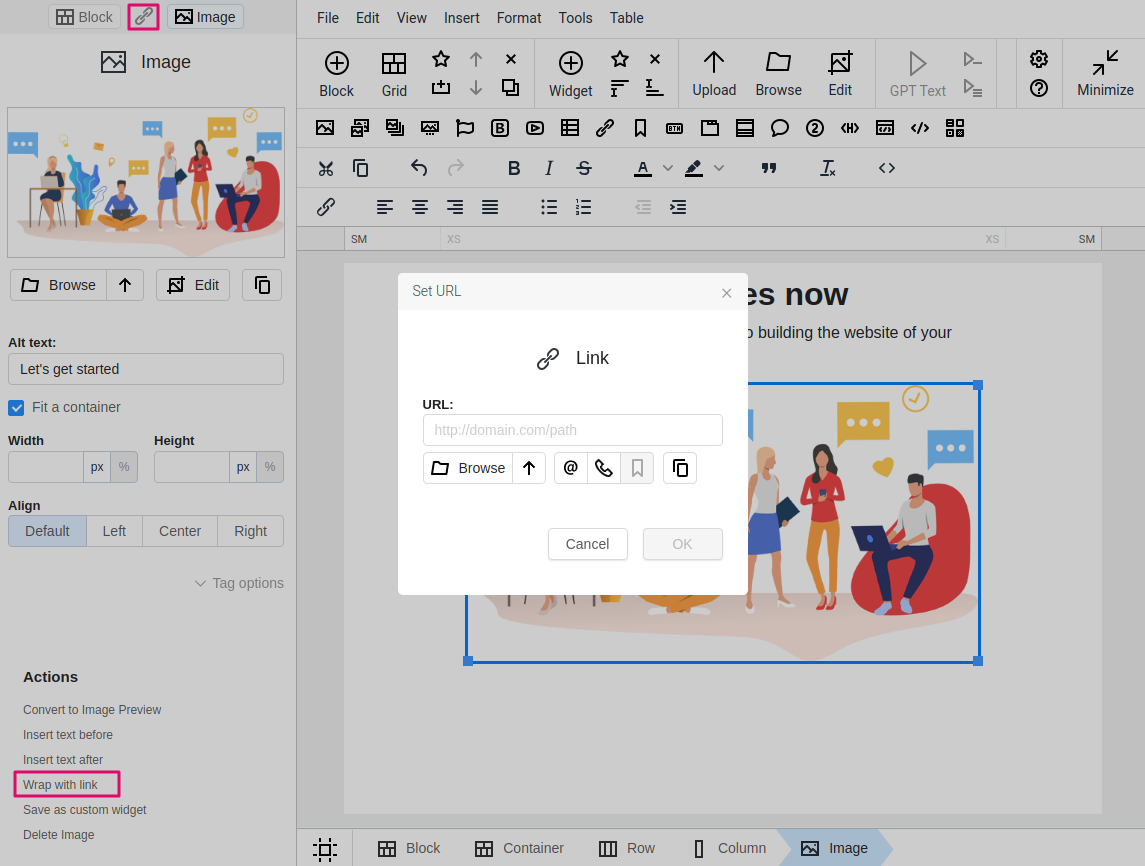
You can wrap not only images with a link. The same can be done with other widgets, such as icons (Font Awesome, Bootstrap Icons).
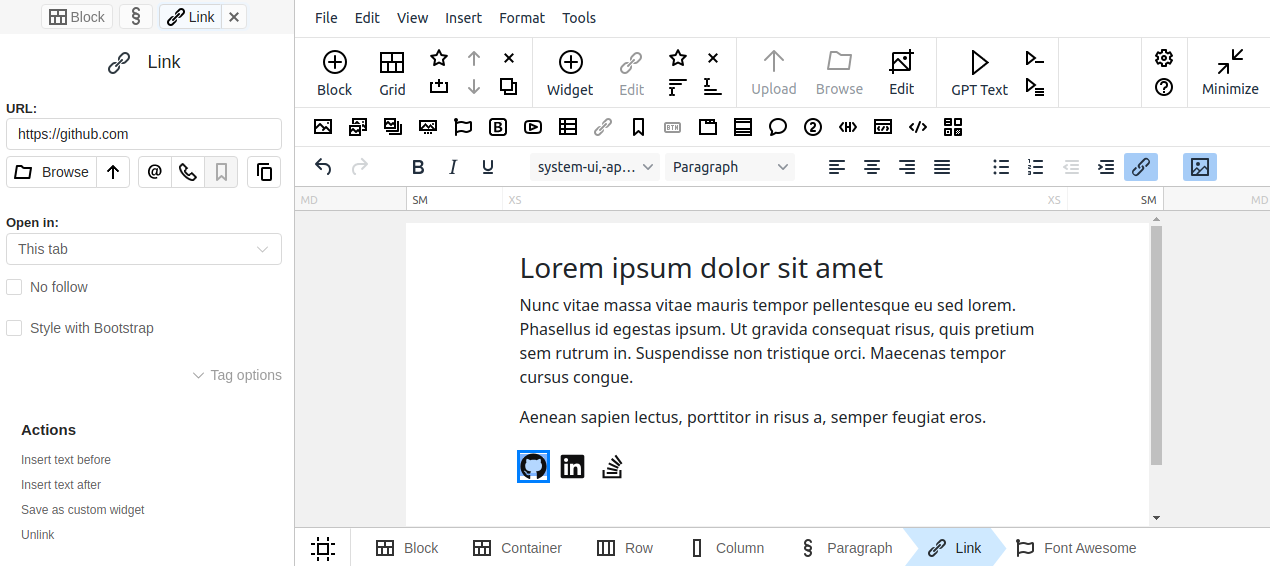
To remove a link, switch back to the Link widget and use the Unlink action, or x button on the sidebar.
