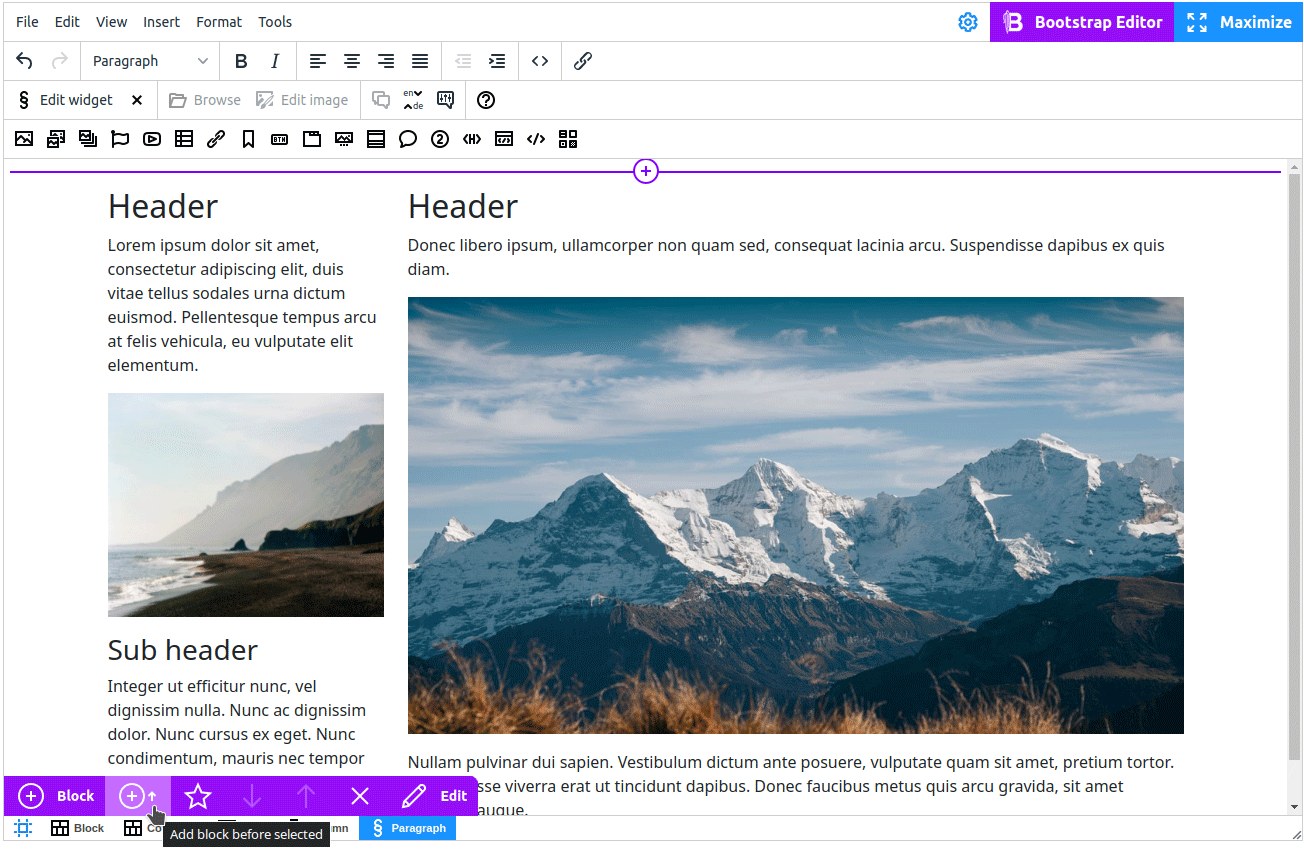
The main concept is editing your articles block by block. Please see a violet panel in the bottom left corner. It will let you quickly add new blocks: from the gallery or your custom set of blocks you will create while working with your website.
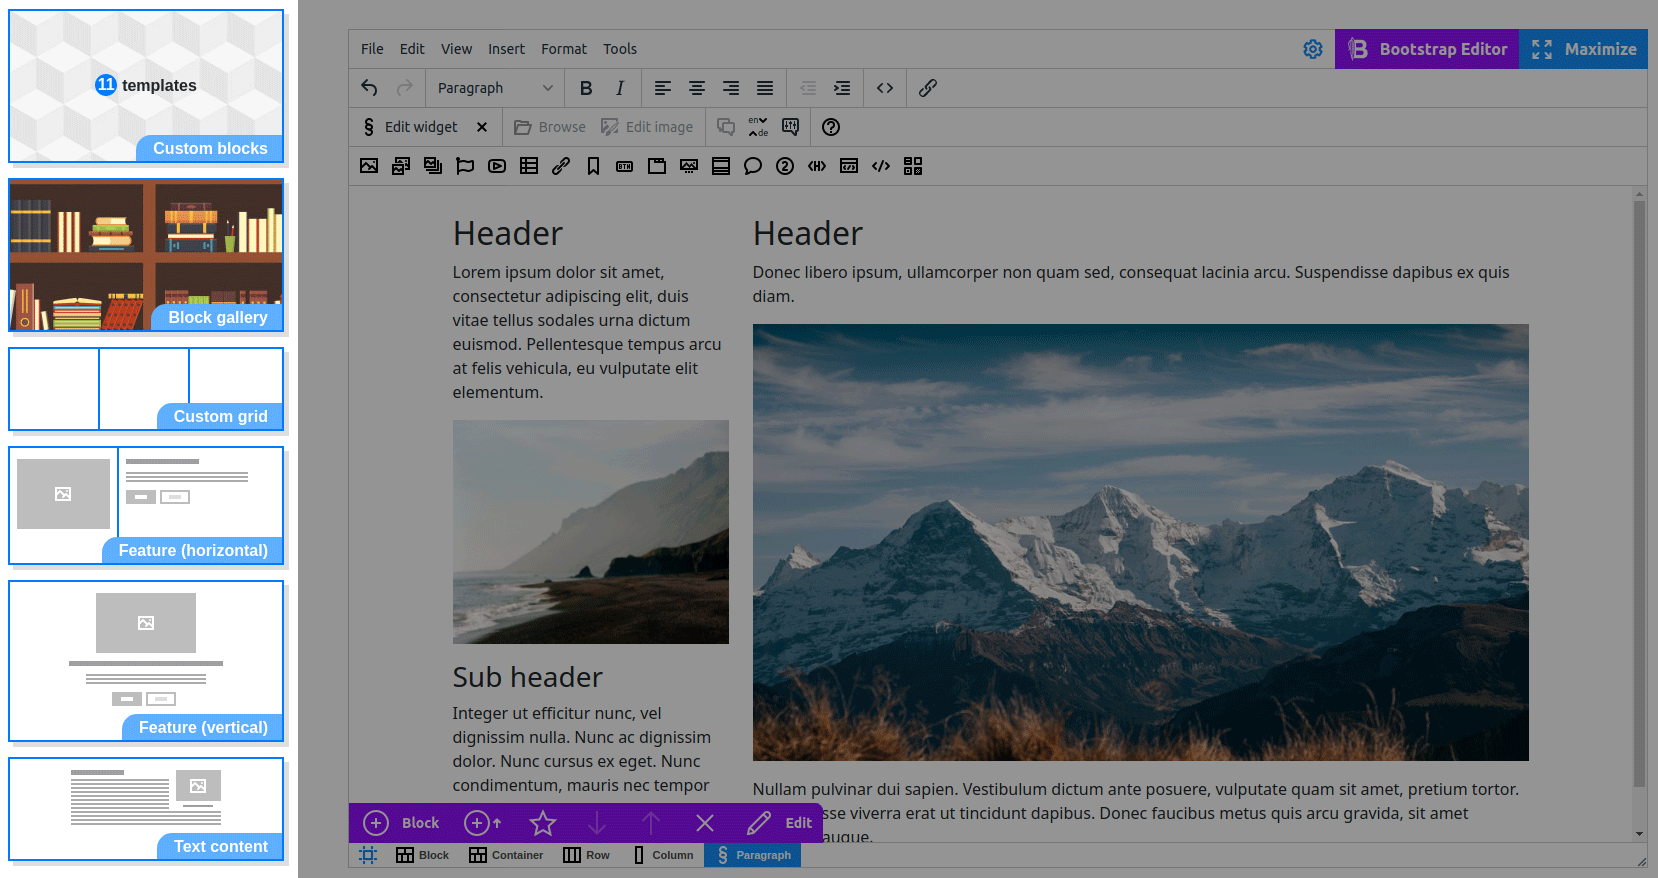
Press the button  . It will open the sidebar with these options:
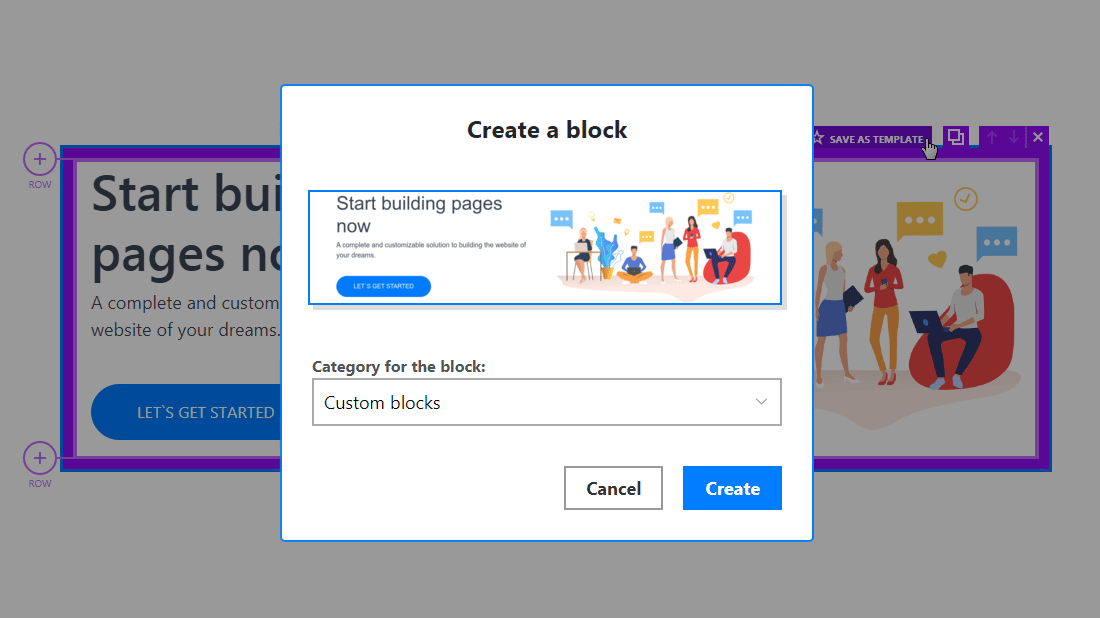
Add custom block. This is your own gallery of blocks. Each time you added and edited some block, you can define it as a custom block. Press button
 on the bottom panel or on the top right corner of the block you edit if you are in Bootstrap Editor mode).
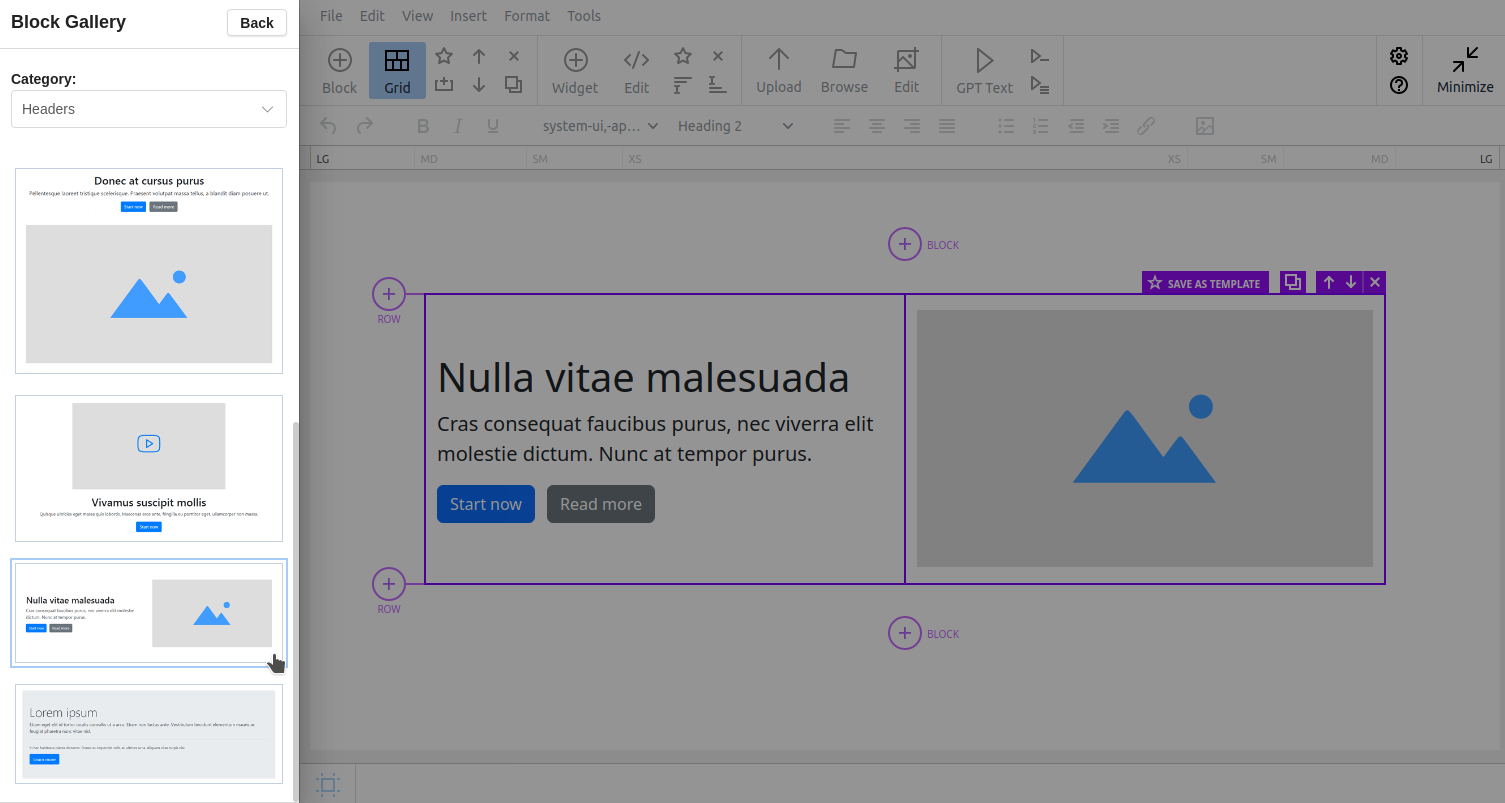
Add block from the gallery. The gallery built in our Bootstrap Editor contains a lot of useful blocks.
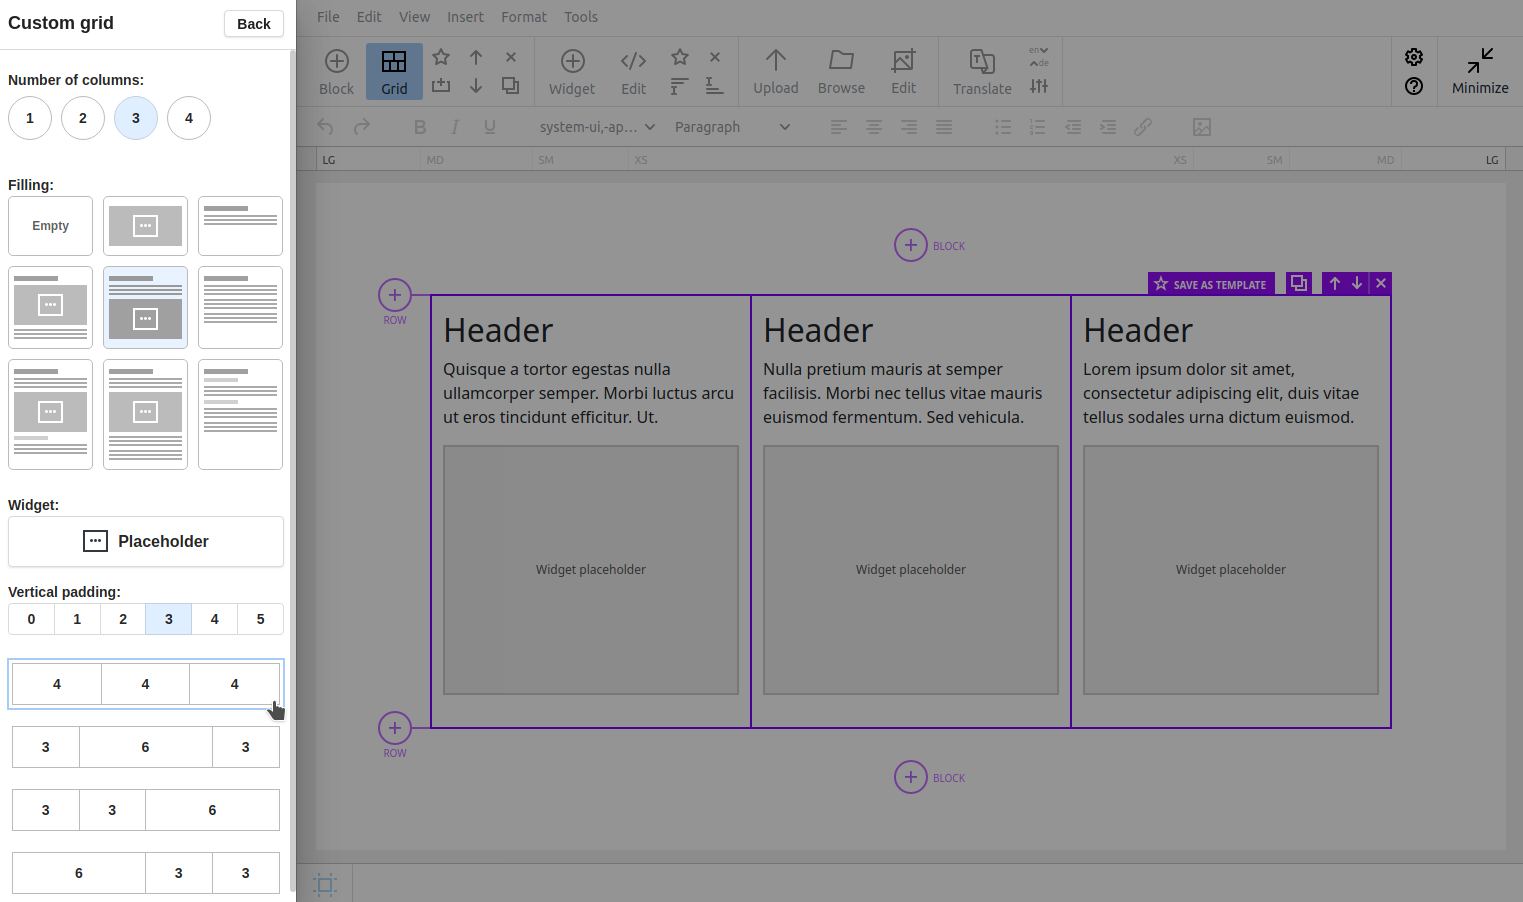
Below you can see a number of block constructors. They are configurable templates that will help you to add a custom number of columns and fill them with some widgets.
Custom Bootstrap blocks

Gallery of predefined Bootstrap blocks
Constructor for modeling Bootstrap blocks
Custom blocks
Some time after you start filling your websites, you notice some fragements of the pages are very similar by structure and by content. Why not to simplify life to you and your collegues who work with content on the website?
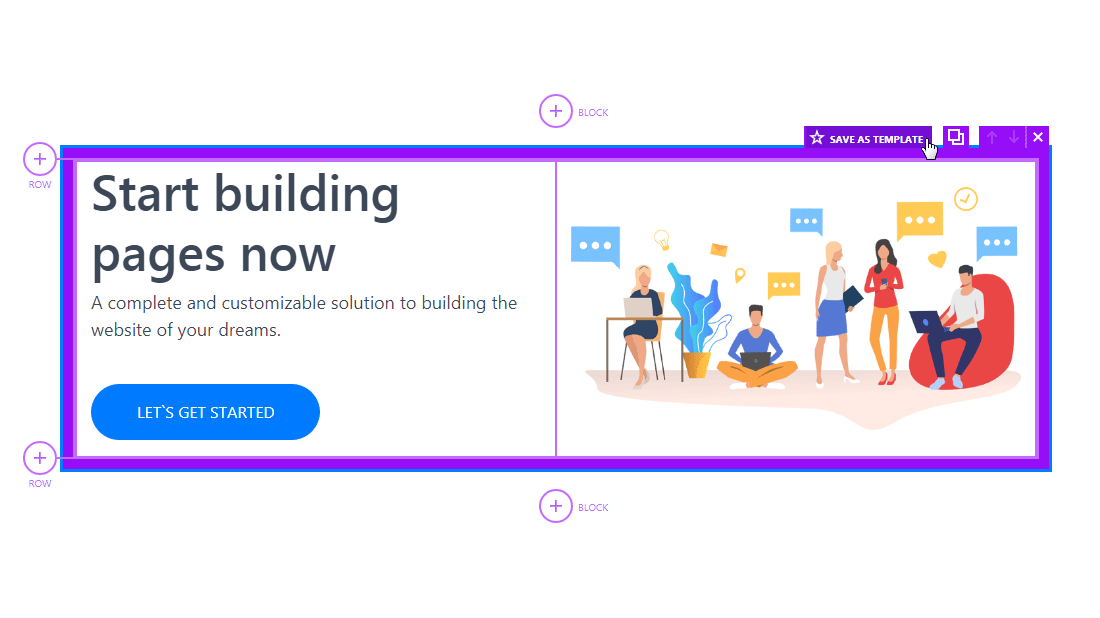
Reusing blocks is a big feature N1ED gives to you. You can press button on the bottom panel or on the top right corner of the block you edit if you are in Bootstrap Editor mode.
After you press it, N1ED will automatically create a screenshot of it (with all styles you have!) and save it to configuration addressed by API key. So current instances of CKEditor and N1ED will get the ability to use this block at the same moment you saved it to your custom blocks gallery. You will also see the block there on next loads of N1ED.
Bootstrap containers and rows
Technically Bootstrap offers two ways on blocks notation inside a content:
- As rows
- As rows wrapped by containers
The second way is the default. It lets you have more benefits like setting a background of the outer part outside the block. Especially (but not the only) this is useful when you do not have any side columns outside of main article contents on the final pages your visitors see (landing pages, longreads, etc.).
Of course you can switch to rows mode if you need. This option is inside Configuration -> Bootstrap Editor -> Advanced -> Elements in root.
Please be aware when changing this value, you should check does your template theme support other values. Changing this option will affect new content only and will not break the existing one.
See full manual on how to build content block by block.