Install Flmngr as a module to your Nest website or app
Requirements
Standalone app is a precompiled server. It requires Node.js >= 14.15.0 to be installed on your server.
You can check the version you use with the node -v command.
Install NPM package 
Flmngr for Nest apps ships as @flmngr/flmngr-server-node-nest-express NPM package. Go into the directory of your project and run:
npm i @flmngr/flmngr-server-node-nest-express --saveNote that this package is compatible with Nest installations based on the Express platform (this is the default, the alternative platform, Fastify, will be supported in the future).
Set routes to map a URL
Next, you need to map a URL to the backend. This URL will handle all JSON dialogs between Flmngr file manager and the server. This can be done with the bindFlmngr function from the package.
Here is a sample of the app code you will have after:
import { NestFactory } from '@nestjs/core';
import { AppModule } from './app.module';
import { bindFlmngr } from "@flmngr/flmngr-server-node-nest-express";

async function bootstrap() {
  const app = await NestFactory.create(AppModule);

  bindFlmngr({
    app: app,
    urlFileManager: "/flmngr",
    urlFiles: "/files/",
    dirFiles: "./files"
  });

  await app.listen(3000);
}
bootstrap();
In the sample above, we tell the Flmngr to attach to the flmngr URL of the server and use ./files as a storage with all files user will manage.
Also, this app will serve this storage directory as a public folder mapped to the URL /files. Do not confuse the path to the directory with the URL it will be published on, and remember that the urlFiles parameter is optional in case you will publish this directory with other tools (e.g., Nginx).
GitHub sample
There is a sample on GitHub showing how to implement Flmngr backend in existing app:
Hint: You can fork the sample if you are starting a new Nest project where you need the Flmngr file manager to be included.
Link Flmngr with the server
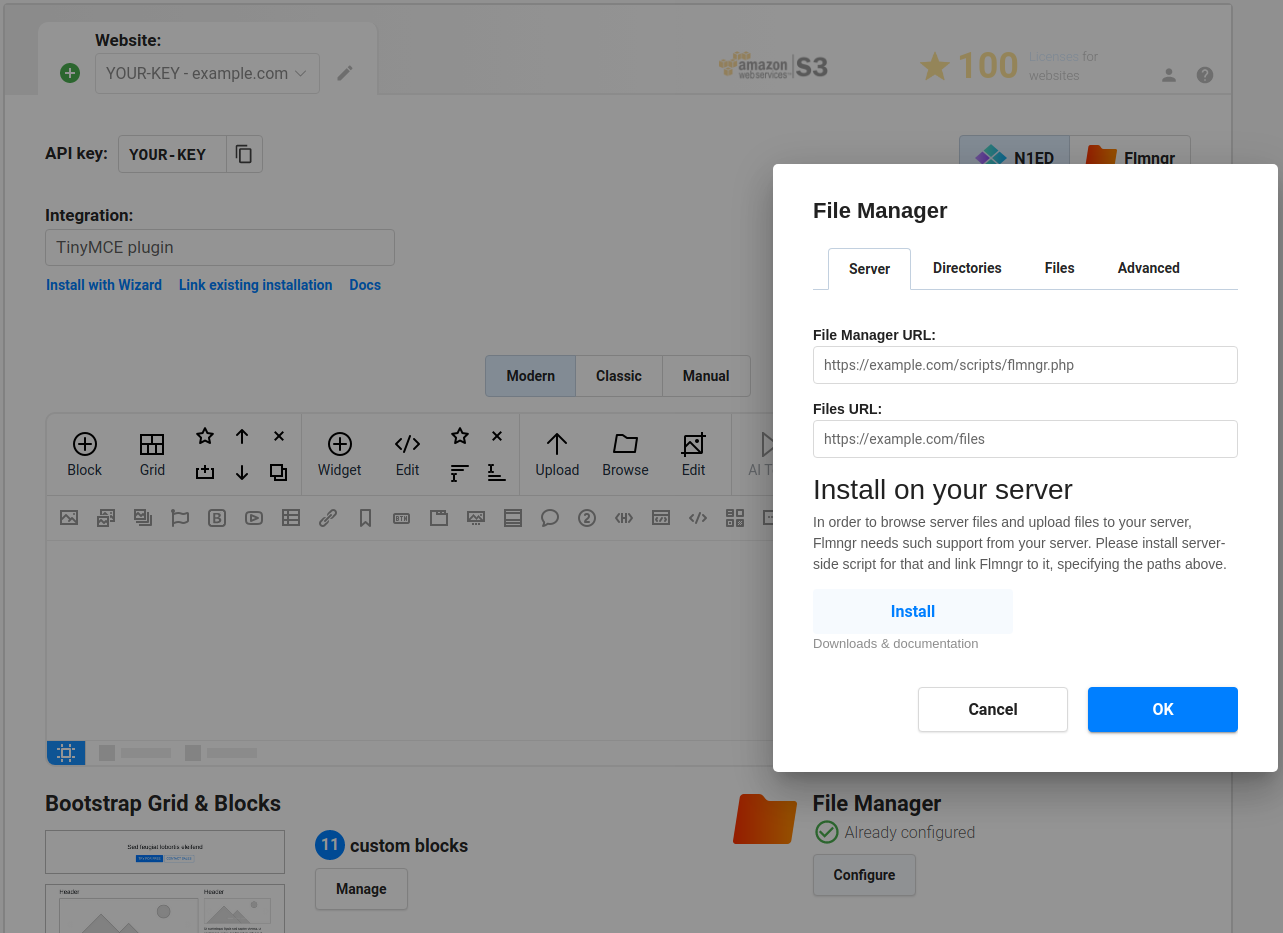
Using the visual Dashboard, you can specify the URLs of your server to link Flmngr with it.
- File Manager URL is the value you've passed into the
bindFlmngr()as theurlFileManageroption. - Files URL is the value you've passed into the
bindFlmngr()as theurlFilesoption.
Use absolute URLs. While URLs in Nest server should be without a domain, but from the root of your website (like /path), these URLs on the client (in Dashboard or config) should be set in the full absolute form (like http://your-domain.com/path) to avoid any possible mistakes.
Note: If you use a HTTP proxy server like Nginx, please use URLs it maps to internal Nest app.
Note: Alternatively, you can pass these parameters as Flmngr.urlFileManager and Flmngr.urlFiles parameters into the Flmngr config. This is useful when you need to use different directories based on the current user to support multi-user installations.
Files URL explanation
The Files URL option is the prefix Flmngr will add to any file when inserting it into your content (or returning it in a callback of your API call). If you can use Flmngr fine, but all inserted images are broken, please see this sample to understand how it works:
Flmngr.urlFiles client-side parameter
http://your-website.com/files//var/www/files/dirFiles server-side parameter
/path/to/image.pngMulti-user environment
Flmngr can work in applications where you have many users with different storages. You can programmatically specify Flmngr.urlFiles and dirFiles parameters synchronously with values based on the current user's session.