Managing Bootstrap custom blocks
A custom block is a part of your page (a Bootstrap container or row with everything inside it) saved to your own library. Build a section once, save it, and insert it on any other page: a header, a row of cards, a call to action. The library belongs to the API key, so every editor of the website sees the same blocks, and you can share them with your other websites.
Step-by-step guides with more pictures: Bootstrap custom block templates.
Save a block
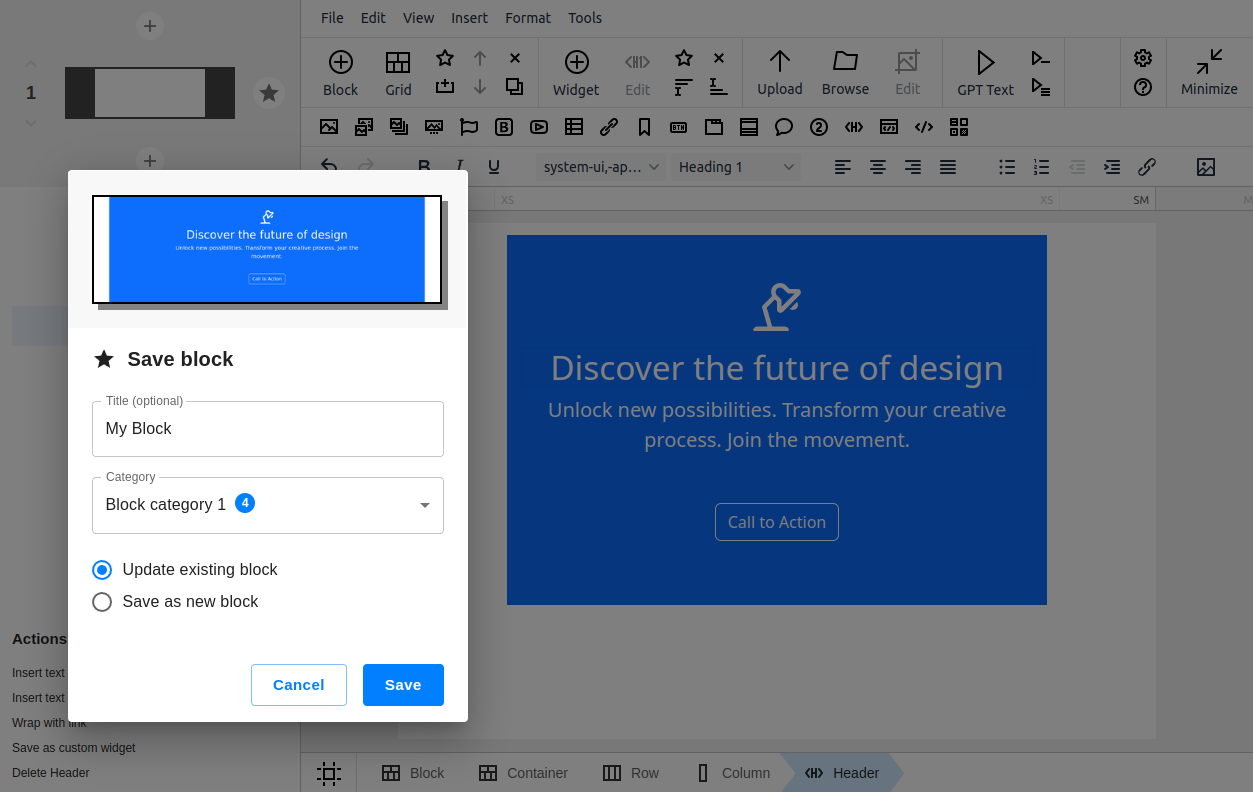
Select the block in the editor and press the star button (Save block): it is on the toolbar and on the panel of the selected block. The Save block dialog opens:
- Title, optional;
- Category: the collection of your library the block goes to, and + New category starts a new one;
- Update existing block or Save as new block, when the block came from your library: overwrite the block in the library, or keep it and save this one next to it.
N1ED makes the screenshot of the block by itself: it is the preview you pick the block by later.
Saving a block needs your full 24-character API key; an old 8-character key cannot save one. More: create a block, update a block.
Insert a block
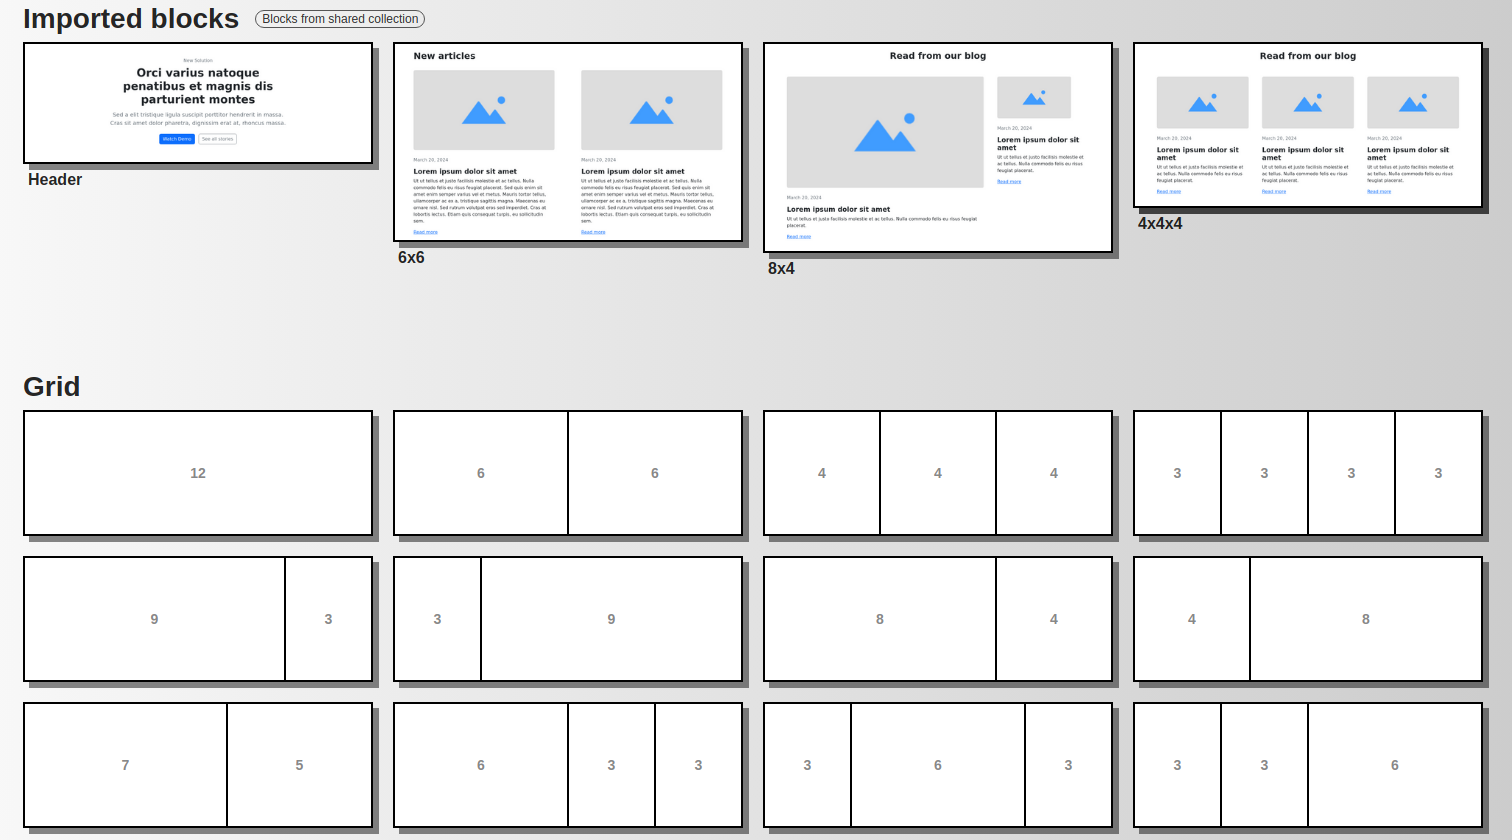
The Block button opens the gallery of blocks: your own categories come first, then the blocks other websites share with this one, then the grid and the built-in blocks. Click a block to insert it. More: insert a custom block.
Inserting blocks from the gallery (your own, the shared ones, the built-in blocks and the grid) and managing the library are part of the Premium plan. Saving is not: you can build your library first.
Leave room for other content: Placeholder
If the same block should hold a different picture or video on every page, put a Placeholder widget into it before you save it. After the block is inserted, the placeholder's Set widget turns it into an image, a video, an icon or any other widget. The Placeholder has no button on the toolbar by default: insert it from the list of the Widget button. More: Placeholder.
Manage your library
The Blocks tab of your Dashboard shows the library of the selected website. The gear button of the editor opens the Dashboard on this tab.
- Drag a block to change its place, in its category or to another one.
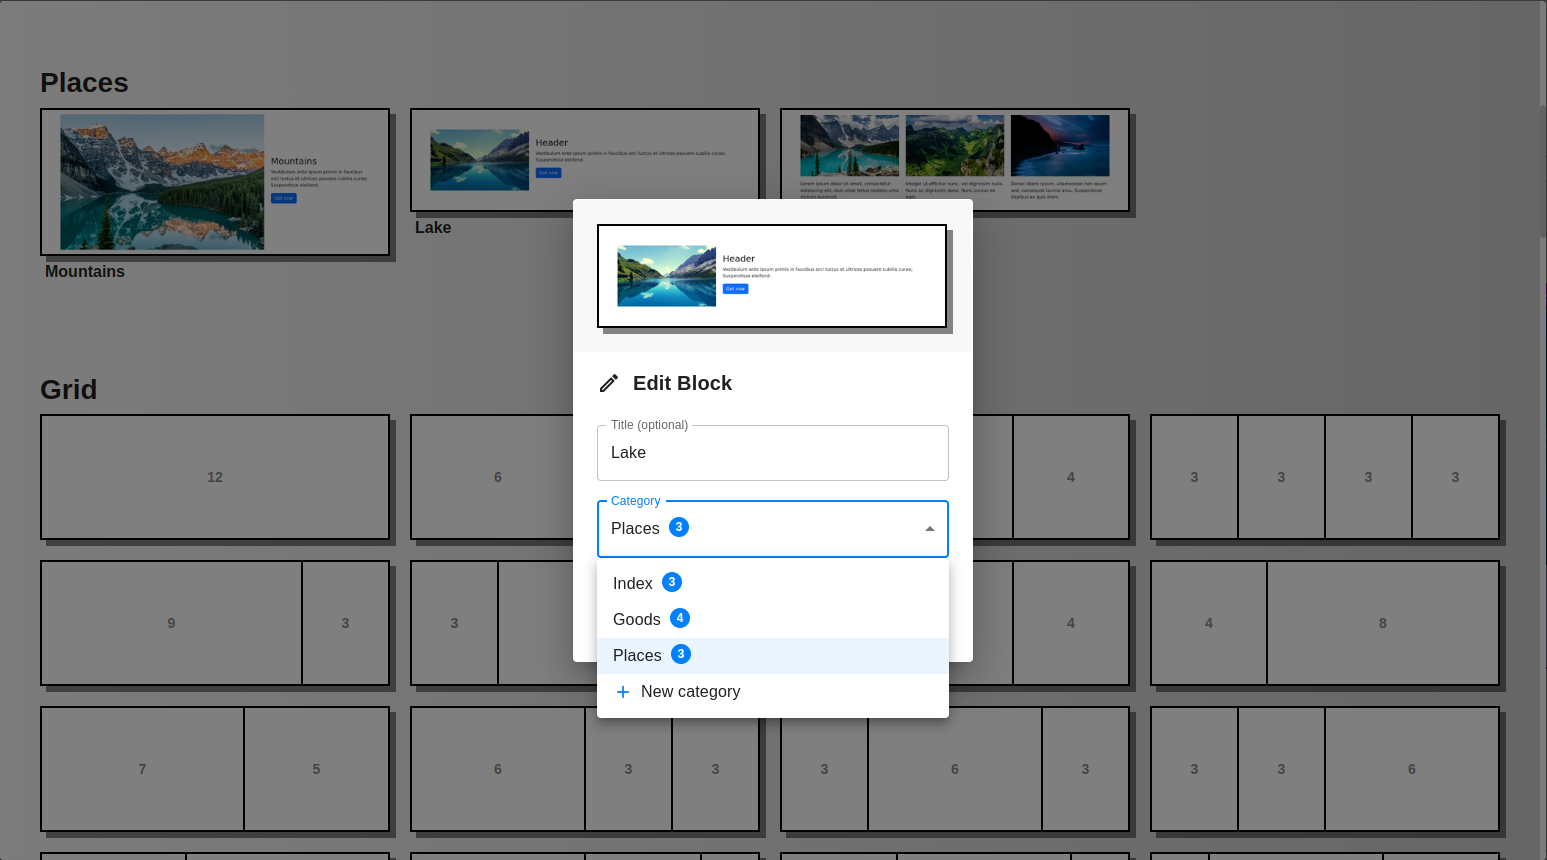
- Edit changes the title and the category of the block. The block itself is changed from the editor: insert it, change it, and save it with Update existing block.
- Copy puts a copy of the block into the library of another website of your account. The copy is independent: a later change to one does not reach the other.
- Delete removes the block from the library. The pages where it was inserted keep their content.
- The pencil next to the categories renames, reorders, adds and deletes categories. A category must be empty to be deleted.
The same controls, except Copy, are in the gallery of the Block button, so the editor's users can sort the library without the Dashboard. More: organize blocks.
Sharing block templates
When you run several websites with similar markup, build the blocks once and give them to the other websites. There are two ways:
- Copy one block to another website, as above. The copy belongs to that website, which can change it.
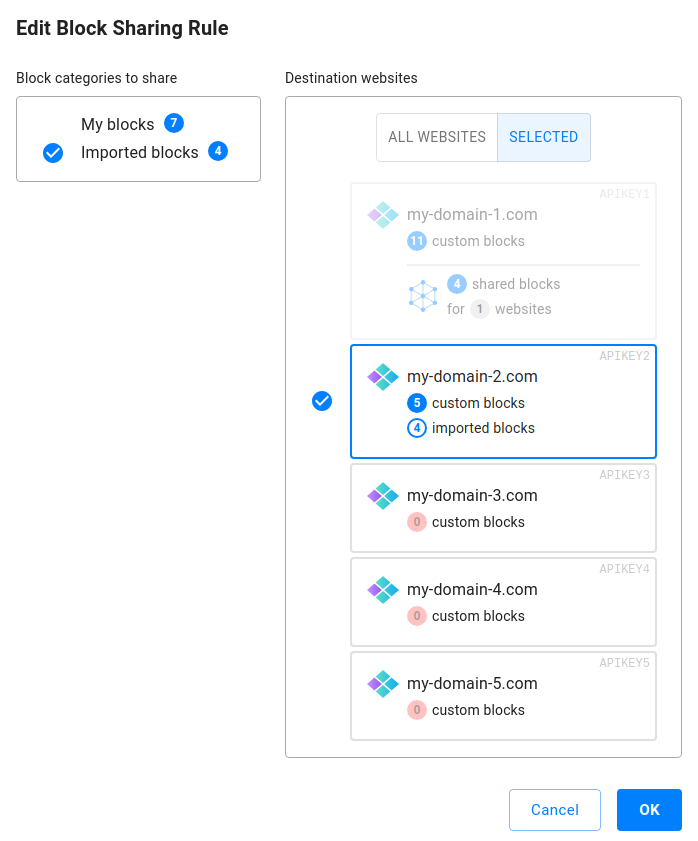
- Share whole categories with a sharing rule. The blocks stay in one library: when you change them, every website sees the change, and the other websites can insert them but not change them.
A sharing rule is made in the Block Sharing section of the Blocks tab: + Add Rule, then the Block categories to share and the Destination websites: All websites of your account, including the ones you add later, or Selected ones. With Include children, a selected website's child API keys get the blocks too. Sharing is part of the Premium plan, and it waits for the first block in the library. More: share blocks across websites.
On the other websites the shared categories appear in the gallery of the Block button, marked Blocks from shared collection.