Block-by-block Bootstrap editor for TinyMCE and CKEditor

Classic editors like CKEditor and TinyMCE work well for editing plain content, but N1ED enhances them by adding Bootstrap support to the editor. It allows you to build and visualize grid structures, create custom block templates, insert Bootstrap widgets, and much more.
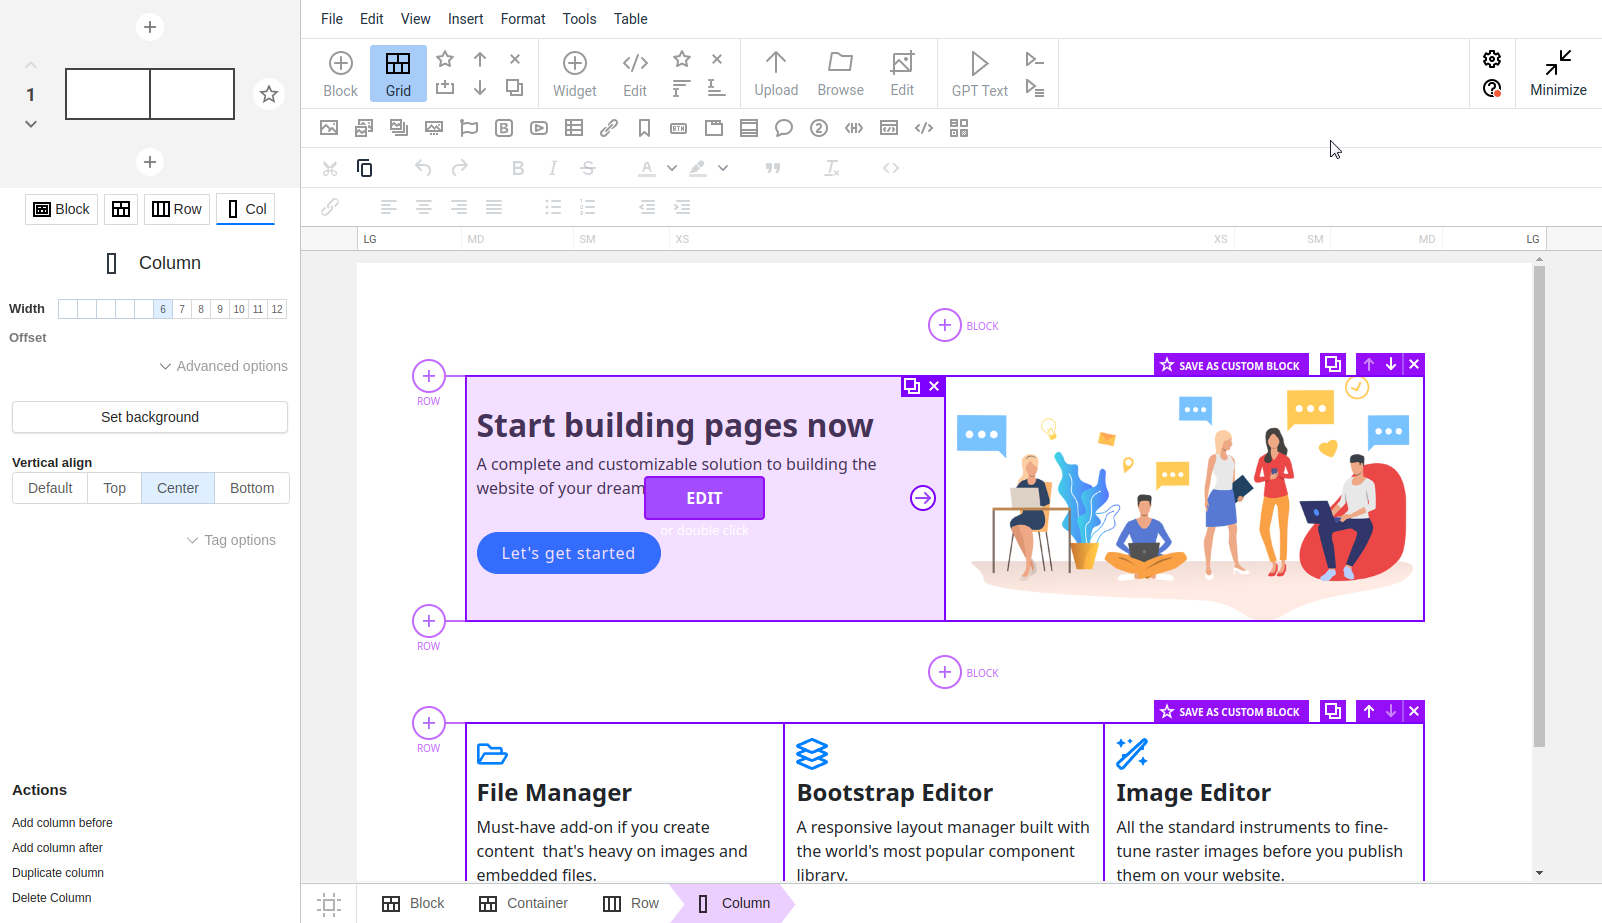
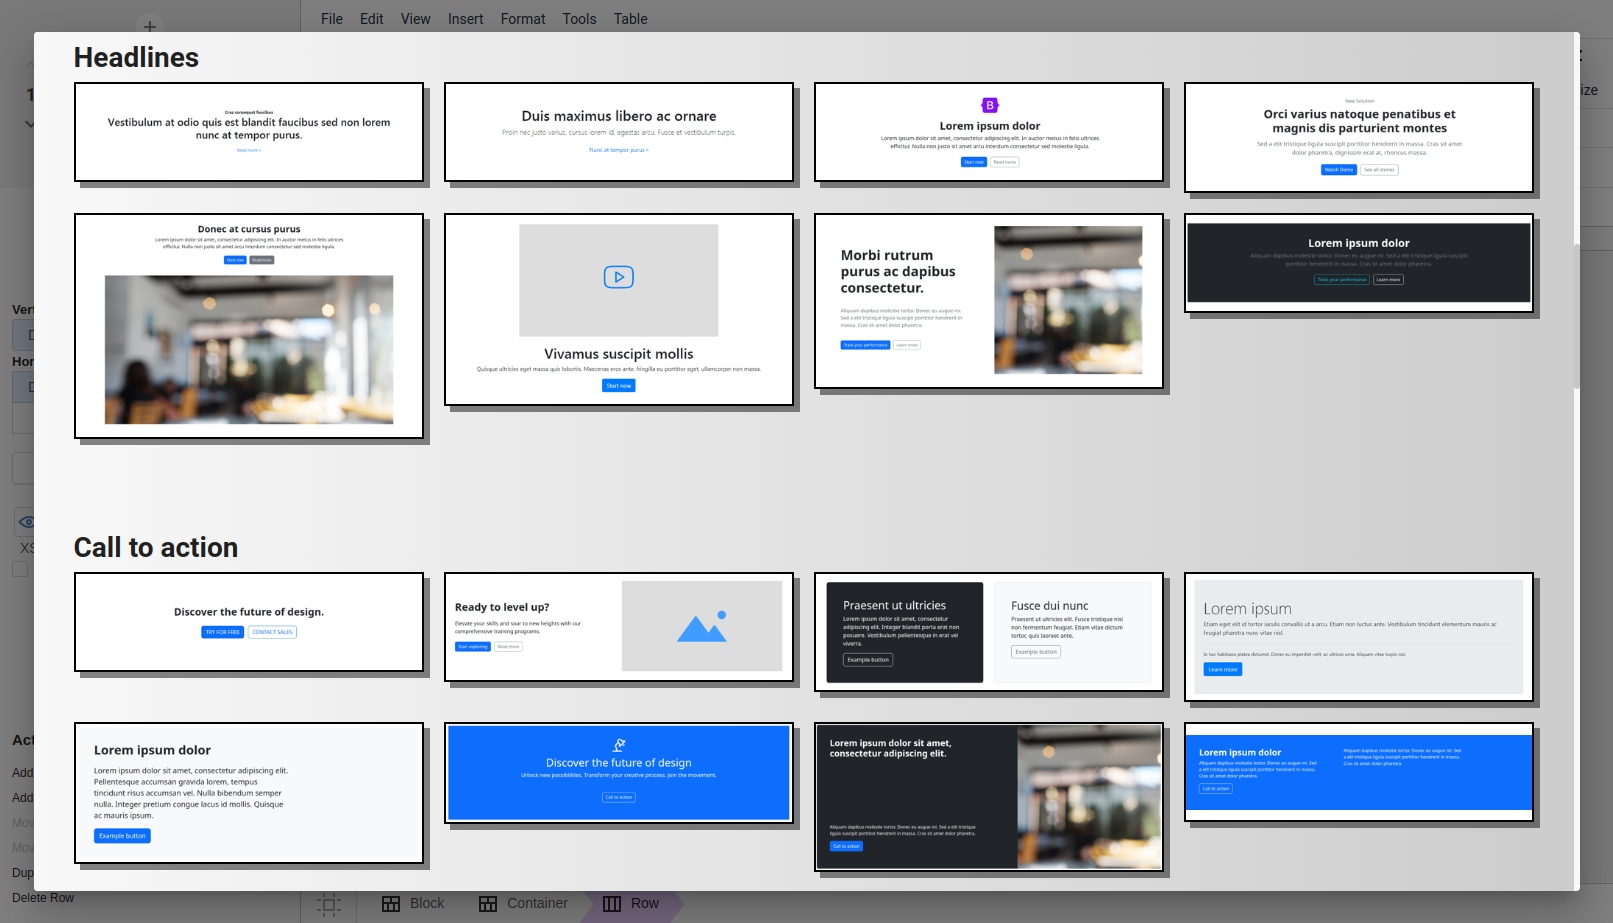
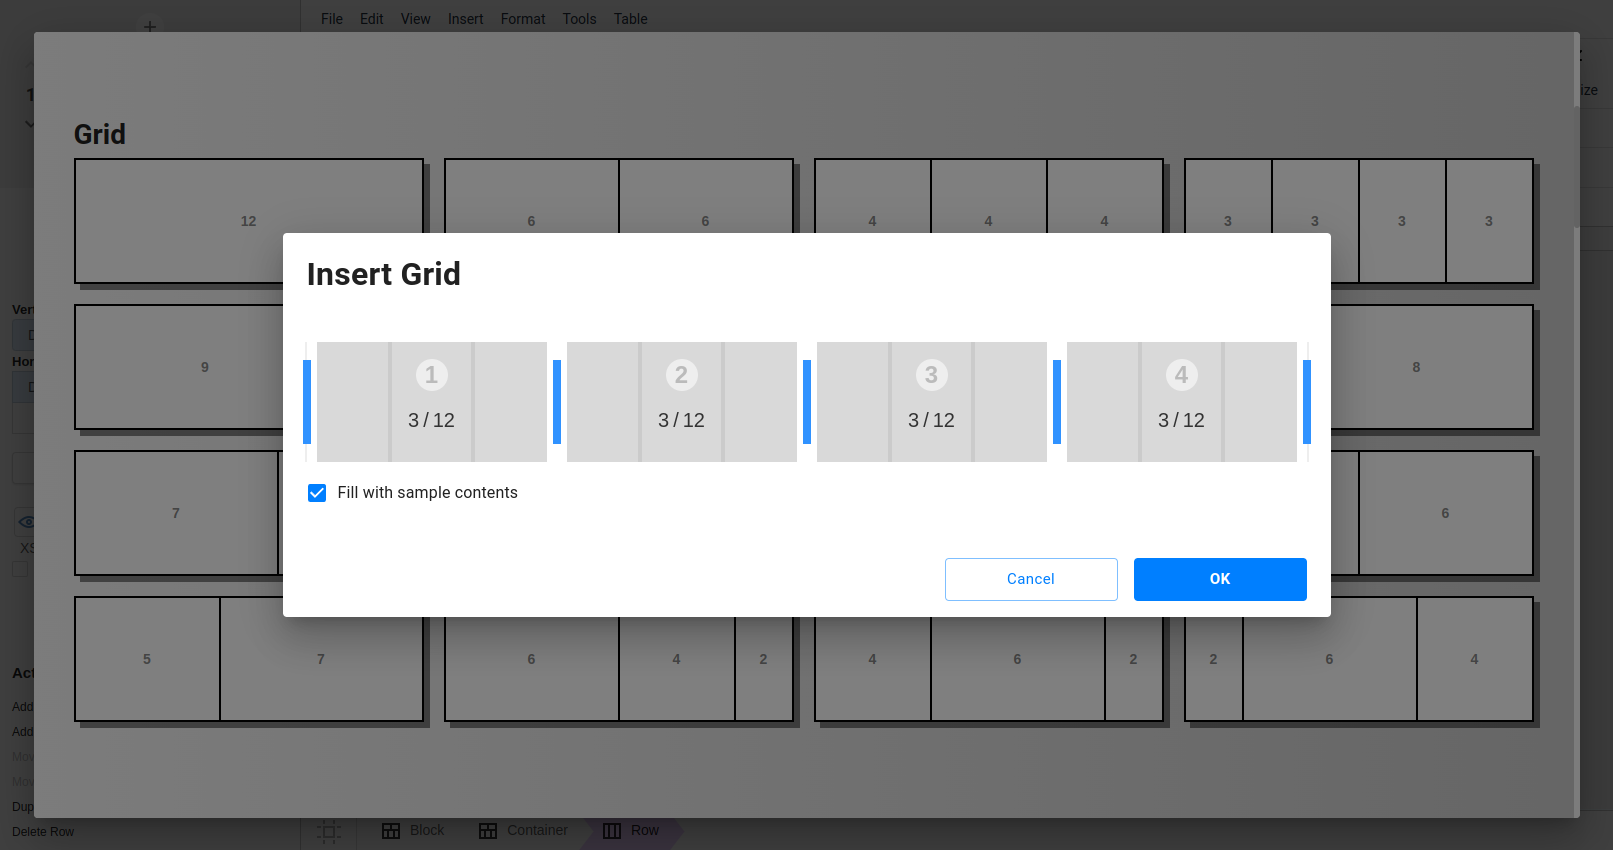
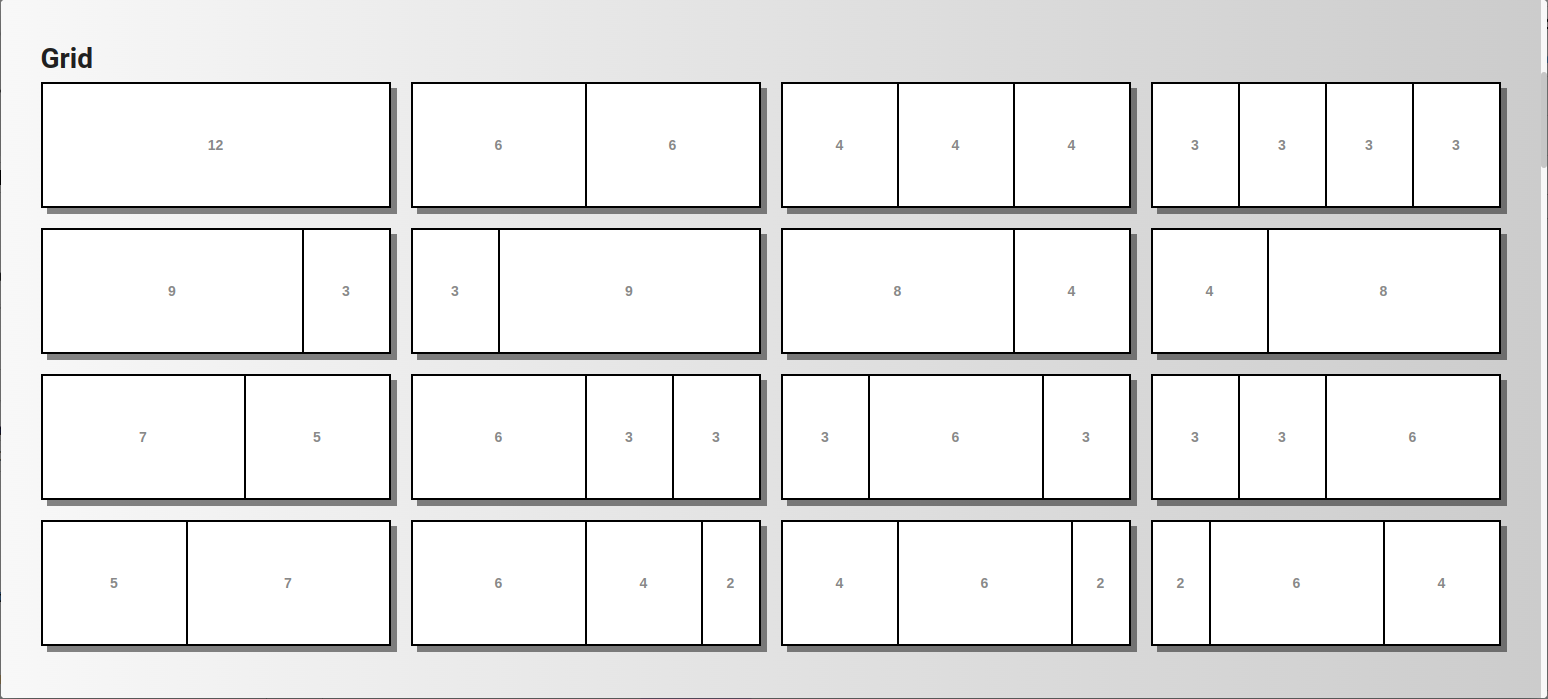
Each block represents a portion of content of any type, which can optionally be organized using the Bootstrap column system. As you write content, you continuously add blocks to your page from grid templates, the built-in block template gallery, or later by reusing your own custom templates.
You still work within the WYSIWYG (What You See Is What You Get) paradigm but gain new capabilities for handling Bootstrap elements, particularly its column system and Bootstrap widgets.