How to use Bootstrap custom block templates in TinyMCE and CKEditor

To speed up block-by-block constructing, N1ED introduces a feature to semi-automate repetitive actions by defining custom block templates and reusing them.
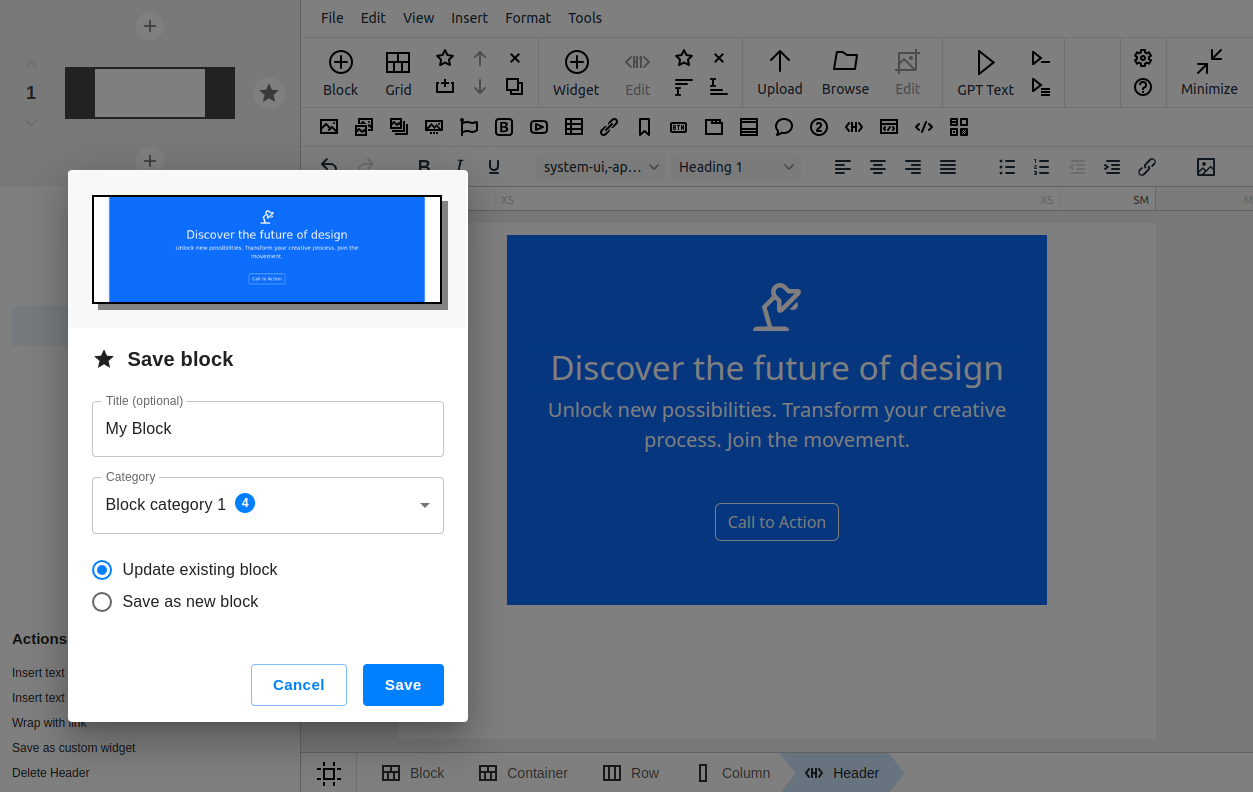
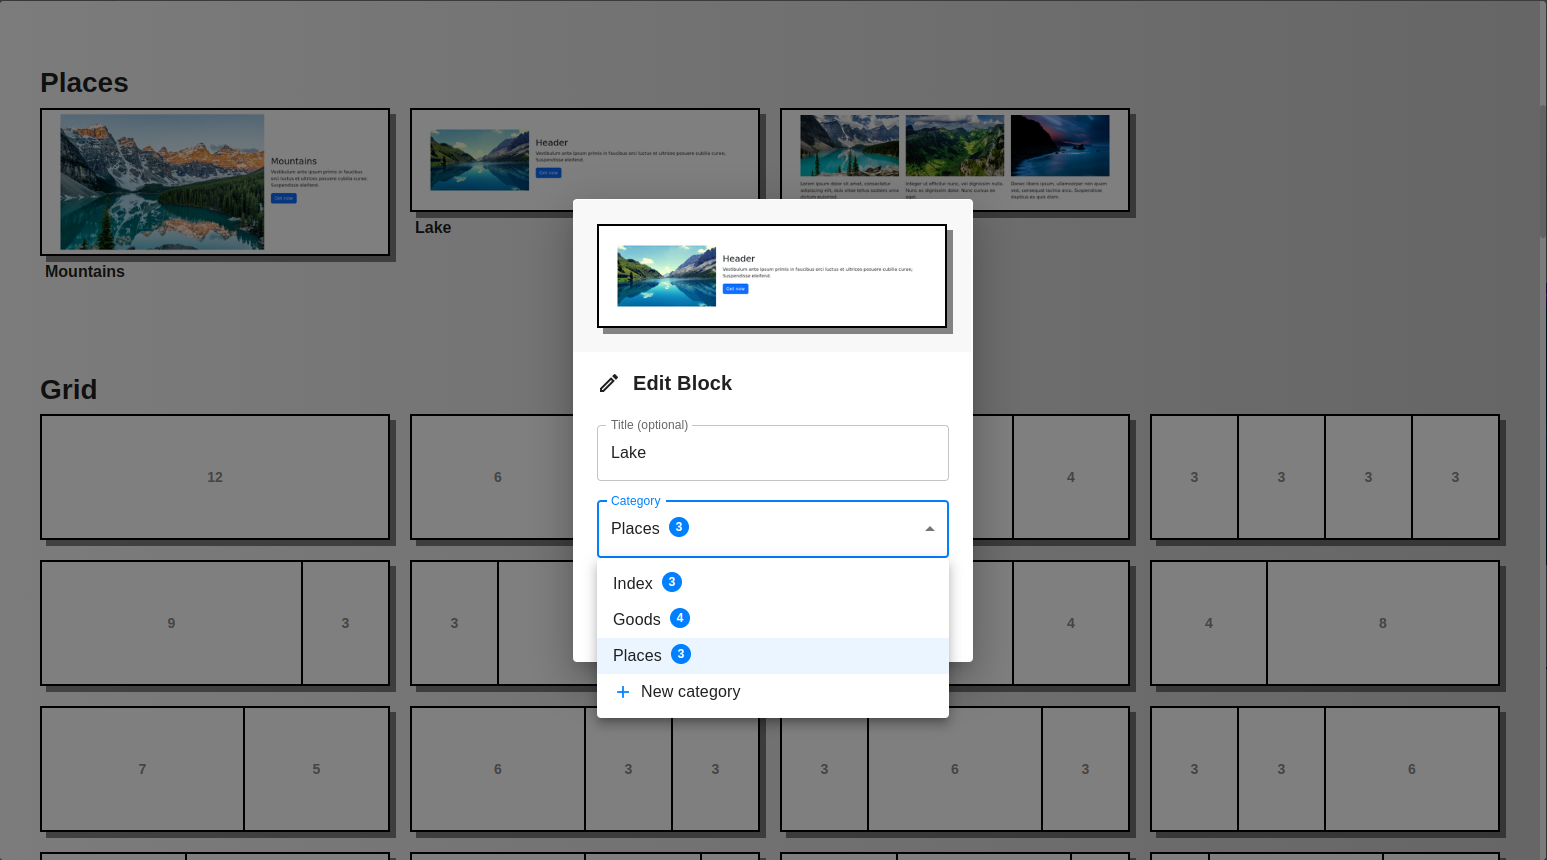
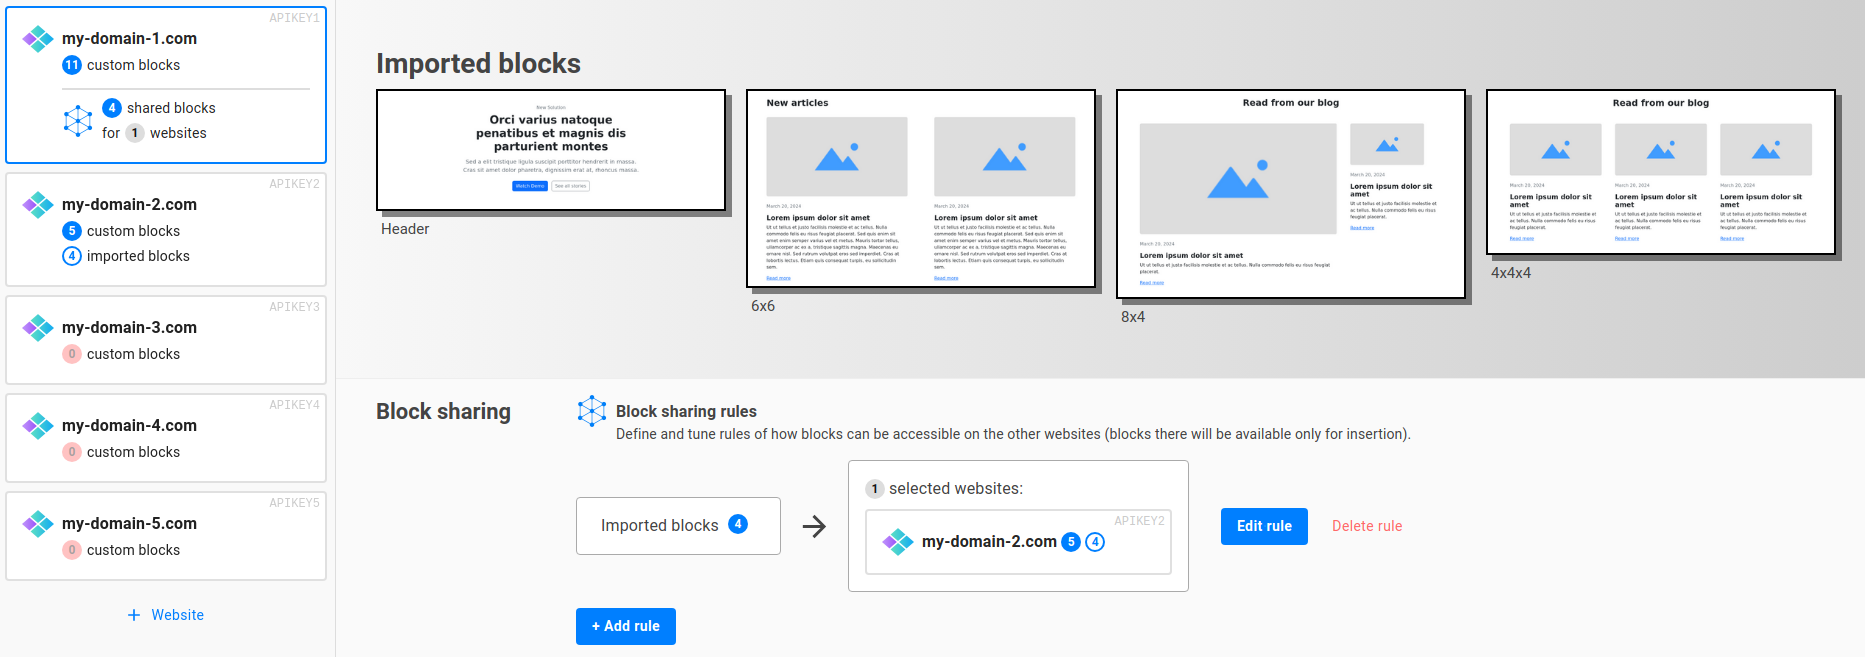
What is a custom block template? It is a Bootstrap block that has a column structure and predefined content inside it. Your editor includes some built-in block templates and empty grid templates you can start with these and save modified templates in your own private gallery, which can be organized into collections or even shared to other websites of your own.