How to insert custom Bootstrap grid into TinyMCE and CKEditor
Inserting custom Bootstrap columns in CKEditor or TinyMCE is an essential feature.
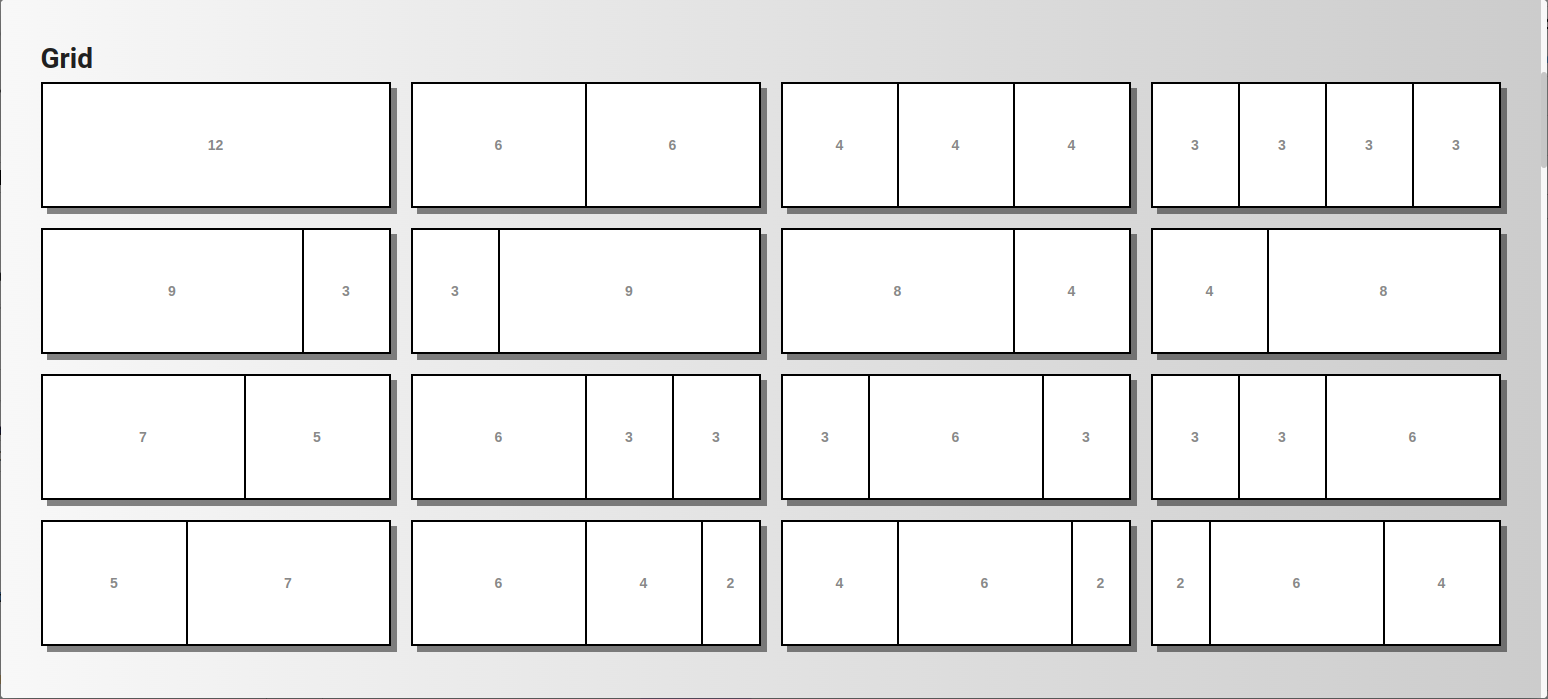
All the options for this are provided in the same Bootstrap block dialog you might have already used for inserting blocks from gallery.
Select a place in the content where you want to insert a new block with an empty Bootstrap structure, open the dialog there, and click on the type of structure you wish to insert.
Then the edit structure dialog will open, allowing you to resize and move columns, tuning the grid to your needs.
There is also a checkbox that lets you fill this new structure with sample content.
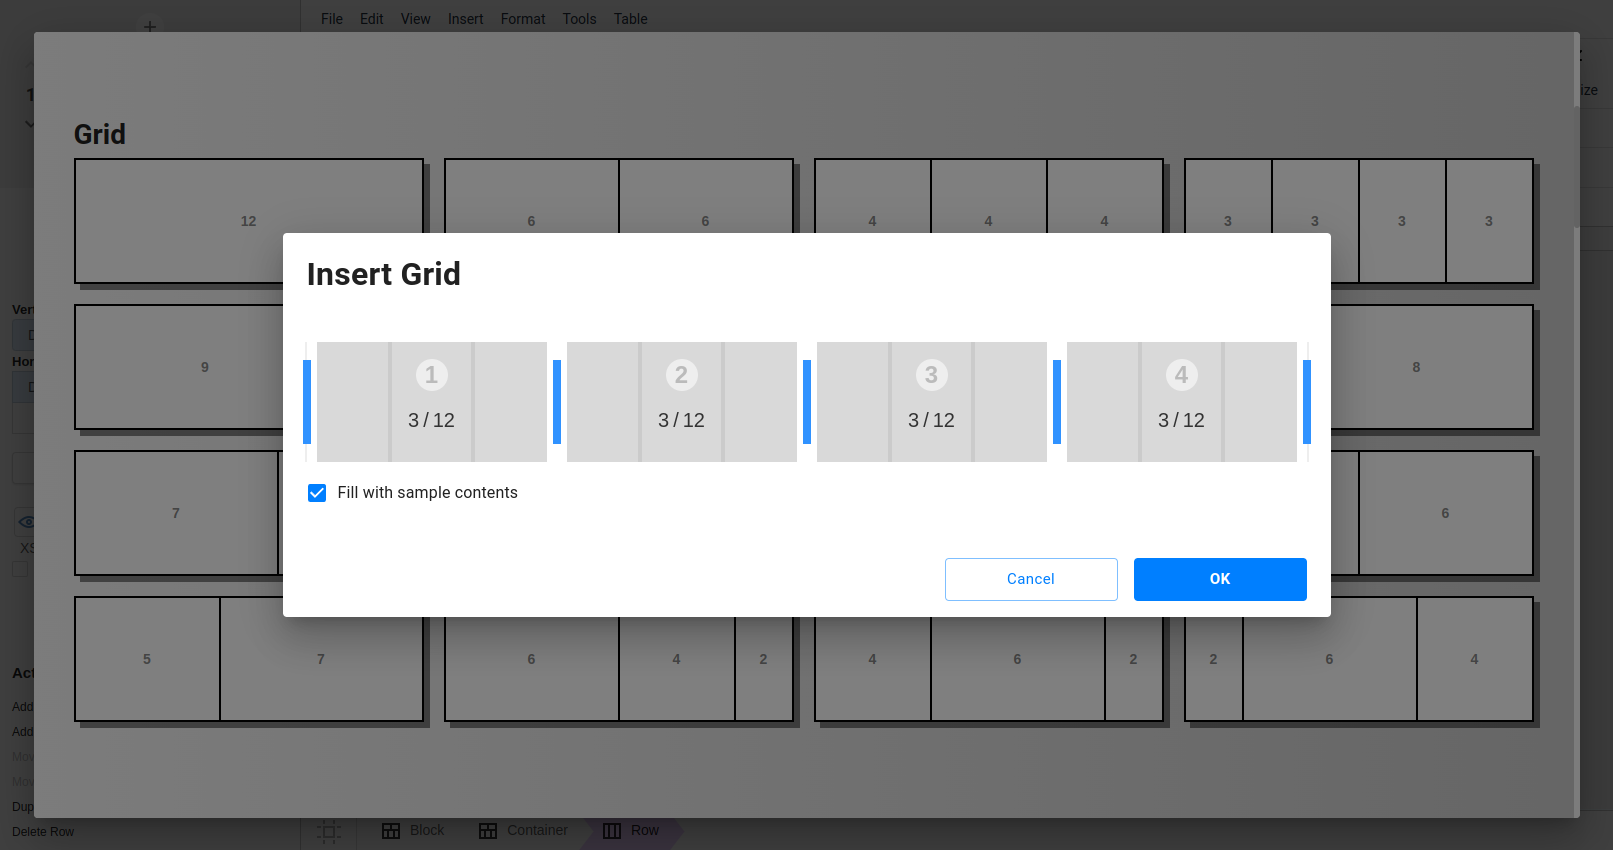
The Bootstrap structure editor dialog above will be available to you later on as well.