Image widgets
A nice and contemporary design of a webs page is nearly impossible to imagine without images: slideshow, gallery, big images, etc. When you enrich your page with visuals, your content only gets better of that. N1ED offers several ways to insert images using widgets. Let's take a look at them one by one.
 Image
Image
The Image widget allows inserting a picture to the content and then editing it.
To insert an image, click the  Image button on the toolbar.
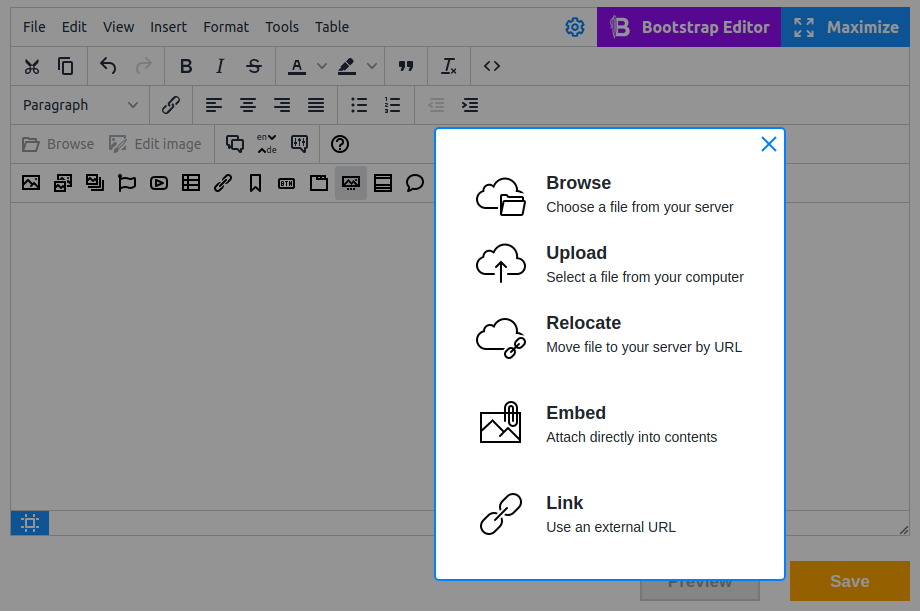
The Image widget closely integrates with file uploading tools. So, when you click the widget button you will instantly see the uploading dialog where you can select a way to upload an image:
- Browse — choose a file from your server
- Upload — select a file from your computer
- Relocate — move file to your server by URL
- Embed — embed an image without uploading it to the server using Base64 URI Scheme. Recommended for small images like icons.
- Link — use an external URL
After you insert the image, you can see its settings and tools to edit it on the sidebar.
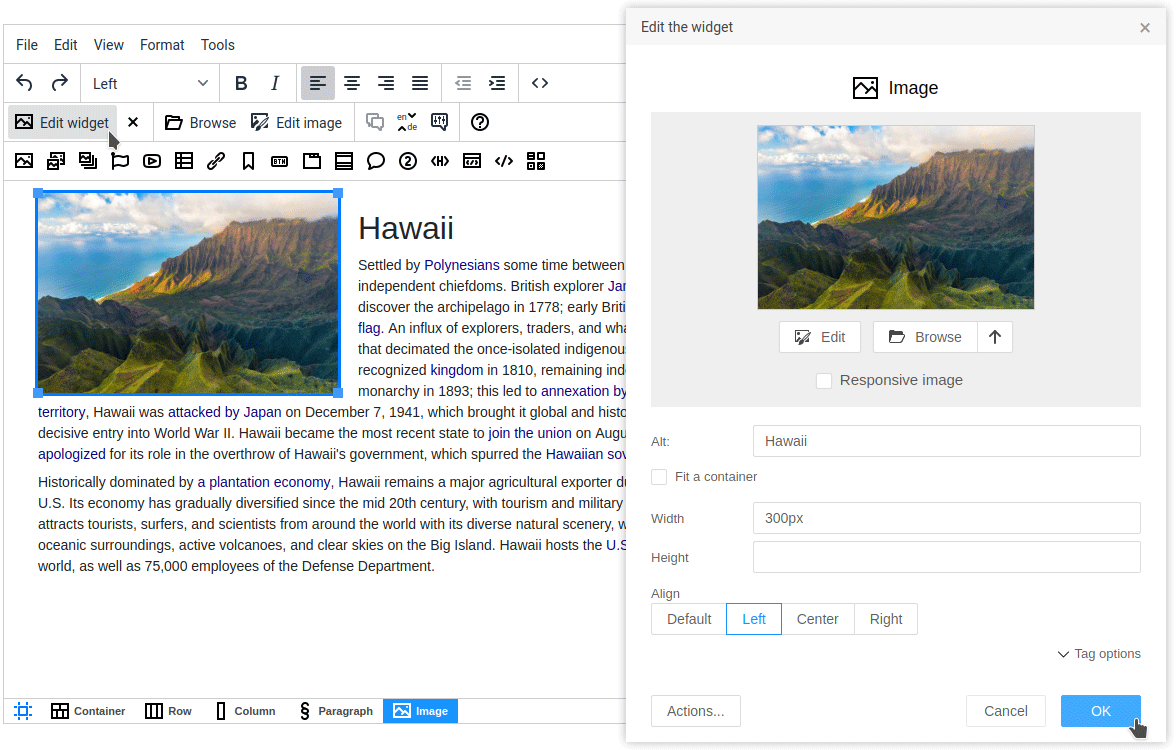
Image widget has the following capabilities:
- You can replace an image via Browse and Upload option
- The inserted image can be edited (crop, resize, filter, and etc.) using the built-in Image Editor
 .
. -
Make image responsive with multiple sizes generation
Flmngr file manager will automatically create optimized previews for all image widgets you have inside TinyMCE or CKEditor. You can insert the Preview widget (a-la LightBox interactive image preview) or use the responsive Image widget transparently.
- Alternative text for the image
- Fit a container. Some images can be too large to display them on the screen without scaling them down. To make the image fit the required area, use this option.
- Configure image dimensions with Width and Height parameters
- Image alignment (Left / Center / Right)
- Tag options are also available to fine-tune styles and classes in the
<img>tag. - Convert image to Image Preview
 Image Preview
The Image Preview widget is basically an Image widget wrapped to a link that points to the full-size image. A user sees a thumbnail, clicks it and sees the image fullscreen.
By default, opening images on the page is managed by the standard script like LightBox, but you can work with your own script as well.
At any time you can return to the initial state of the image with the option "Convert to original size image" on the Actions panel.
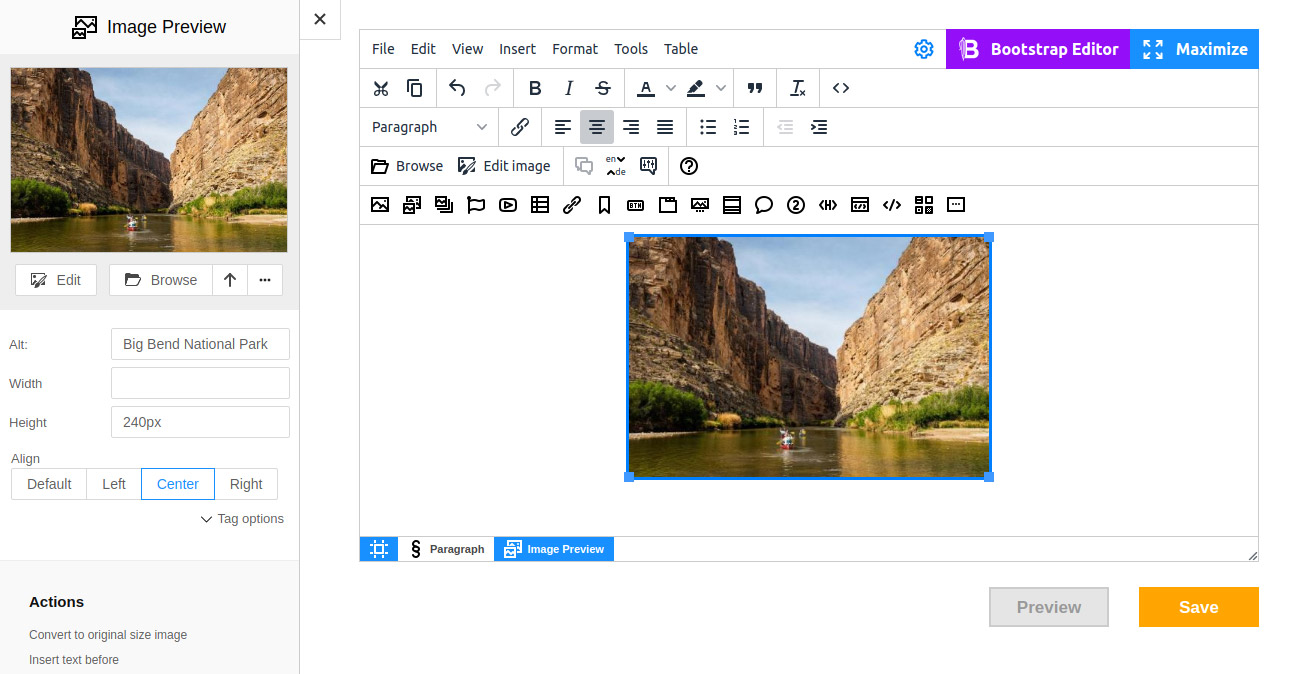
 Image Gallery
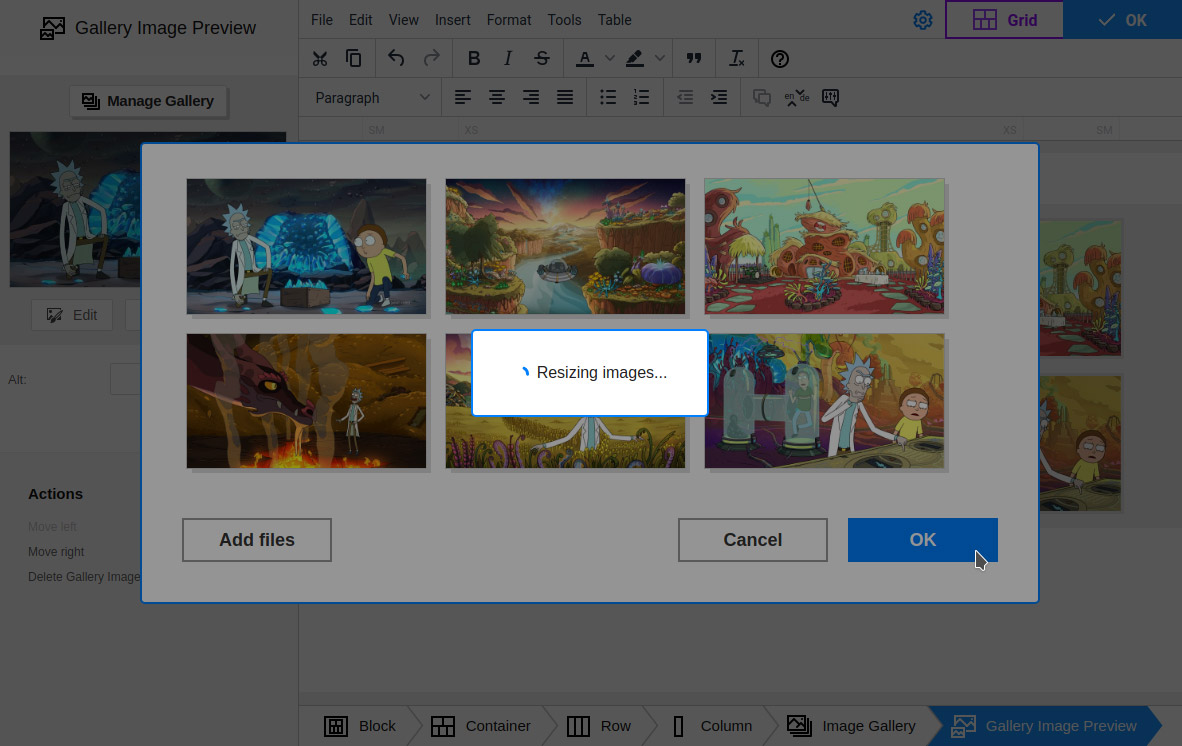
Image Gallery allows you to select images and place them on the page as a group of smaller thumbnails. Clicking a thumbnail open the original image fullscreen. Select a way to add pictures to the gallery, and add images to insert. The image adding dialog allows you to upload multiple images.
You can customize the template of both the gallery and its nested widgets similar to Image Preview. Click the Image Gallery tab on breadcrumbs to switch to editing of the gallery appearance. Here you can set the Background of the gallery, height and width of thumbnails.
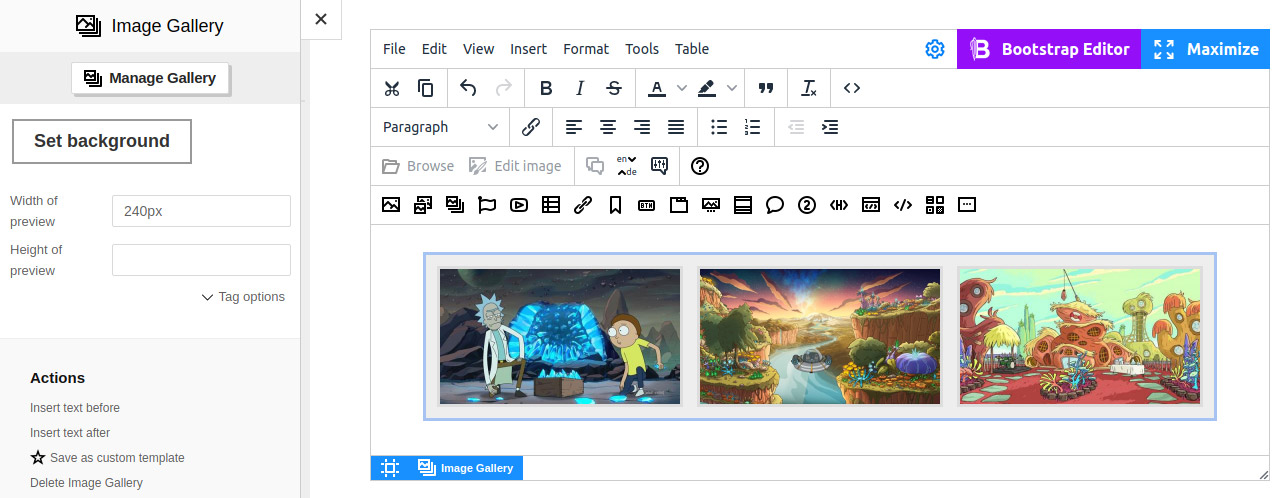
A gallery can be changed: modify the order of images, add new images, delete them. Use the Manage gallery button on the sidebar to bring up the editing dialog. After each change, images are automatically resized to match the specified preview parameters.
You can do the same for an individual thumbnail. To do this, select a picture and click the corresponding settings in the Actions section.
To make images in the gallery look nice, make sure they all have the same size. You may need additional tools for that, such as resize/crop.
You can bring up Image Editor when you select the image, directly from Flmngr file manager, or after you insert the image using the Edit button on the sidebar.