Work with Links and Anchors
N1ED offers more practical ways to work with links and anchors than those provided by default CKEditor and TinyMCE.
The toolbar features widget buttons  Link and
  Anchor, that are synchronized with other built-in instruments in full, and easily interact with each other.
Link
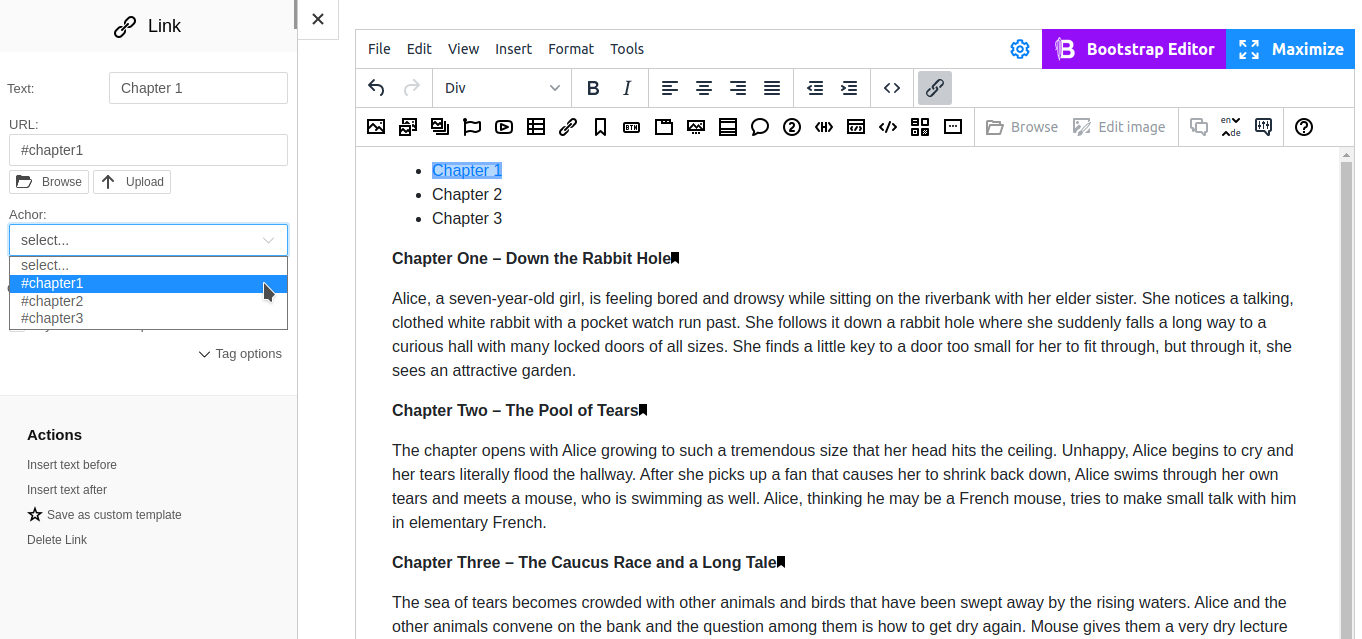
A simple widget to wrap the selected text or image to a link. Aside from inserting a link, the widget offers the UI for editing it. The screenshot below displays available settings for link editing.
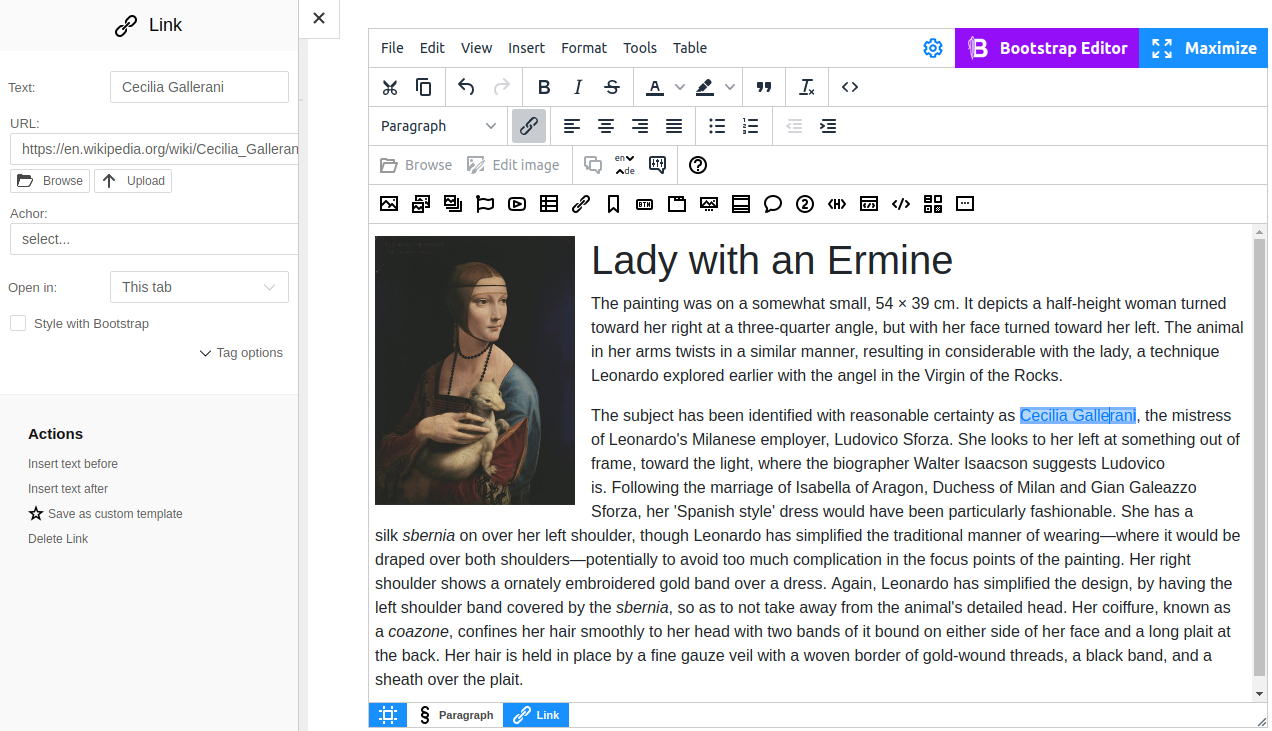
Link settings
Text — the text of a link
URL — the address of a page you want to link to
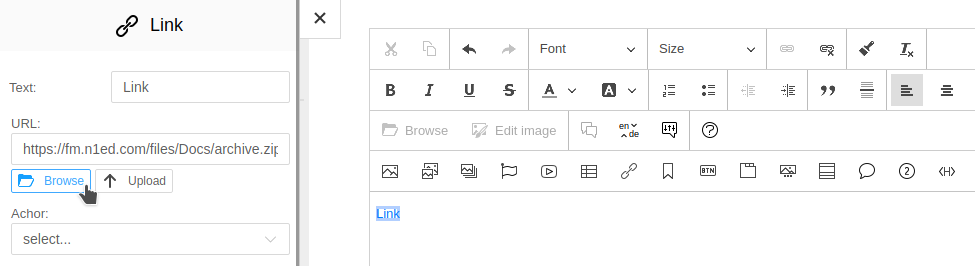
Browse and Upload options. The Link widget closely integrates with the File Manager add-on, which allows invoking the uploading dialog directly from the link editor. This way you can upload a zip, a document or any other file and instantly get a link to it. Click the
 Browse or Upload button and select a file this link should point to.
To link to a specific fragment of the current page, select an available Anchor. Learn more about working with anchors.
The "Open in" option controls the target attribute. By default, when a user clicks the link, the document is opened in the current window, but you can change this behavior by selecting one of the available parameters.
You can transform existing links to buttons. To do this, select the link and choose checkbox "Style with Bootstrap". The plugin supports all styles of Bootstrap buttons, as well as allows fine-tuning of classes, styles and attributes of the tag. Styling can be turned off at any moment returning the link to its default view.

Typing around links
You can wrap the existing text to the link. To do this, select a phrase and click button on the toolbar.
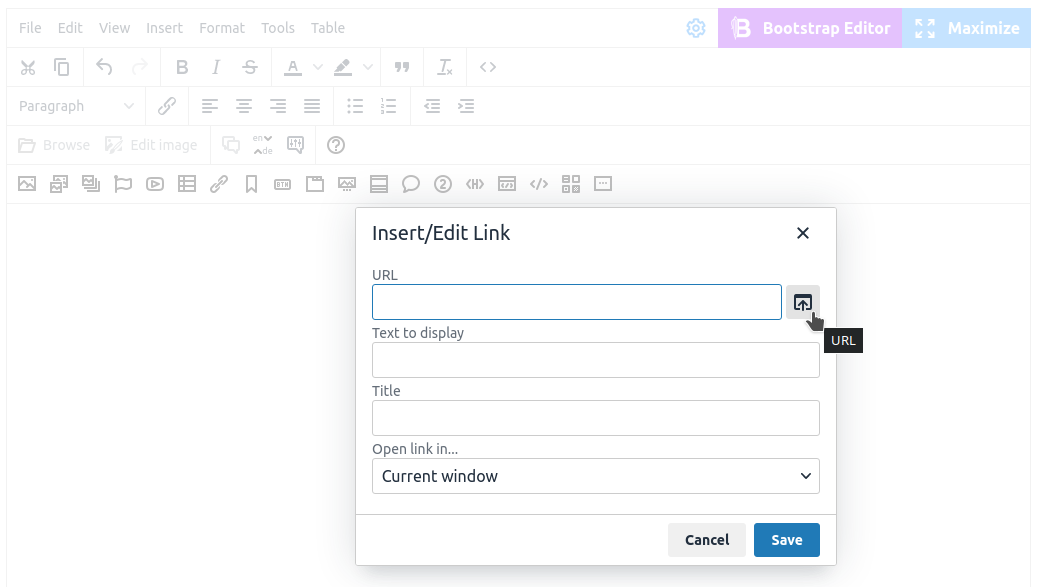
Another way to do this is to insert a link first, then edit it.
When you insert the Link widget, a link is inserted with the "Link" text. To change the placeholder, use the "Text" field in widget settings. You can also enter the text directly into the link body. To do this, move the cursor to its edge (the beginning or end) and delete the automatic placeholder. As long as the link stays highlighted with the blue border, any text and formatting apply to this link only.
To enter text before or after the link, move the cursor to its edge, then press the arrow button once (→ or ←). After that, the link stops being highlighted, and any upcoming text will not be included into the link.
The same can be done with Actions: Insert text before / Insert text after. For example, when a link wraps a picture. To add a new paragraph beyond the link, use the provided options. The below screenshot illustrates exactly this case.
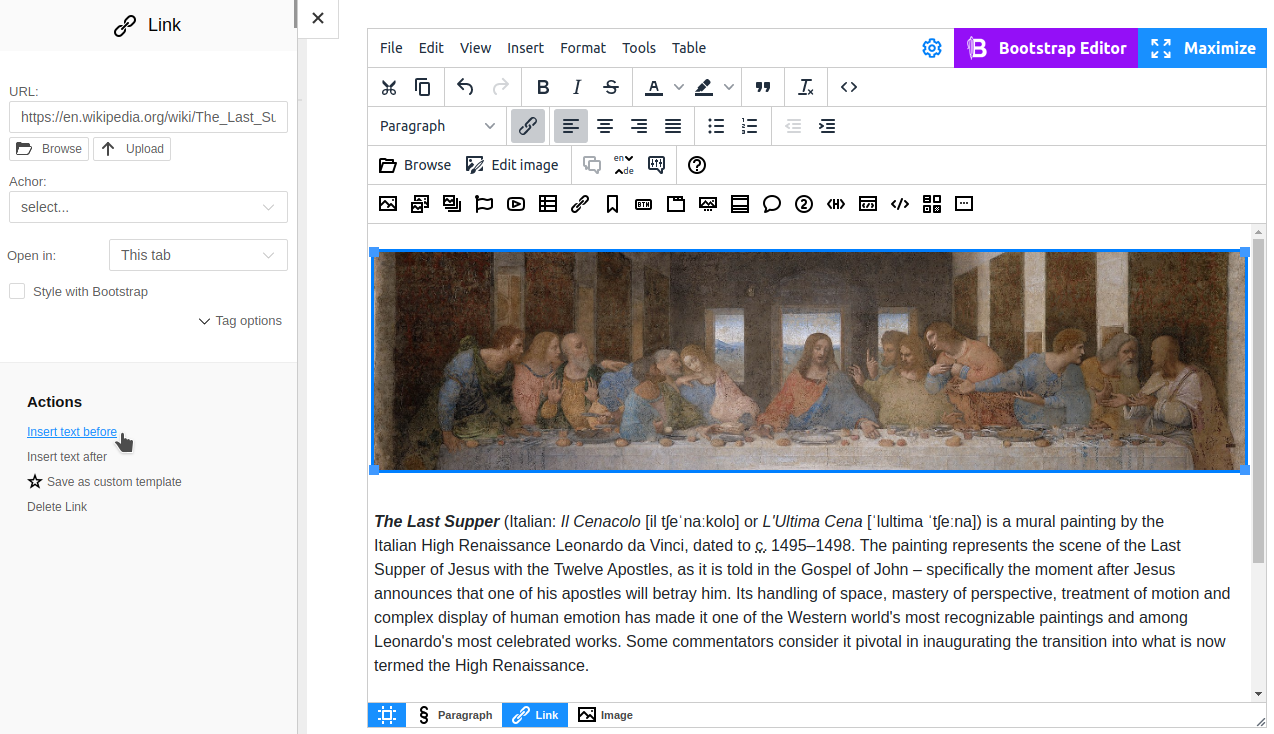
To wrap an image to the link, the widget settings offer a special action, Wrap with link. Some other widgets also have this action. To learn whether a widget supports this function, click it and switch to the Actions section. Read more about working with widgets in the corresponding manual.

Anchor and Link to anchor
Anchor is a widget invisible for a user that marks the position on the page that you can link to from other pages (or the current one).
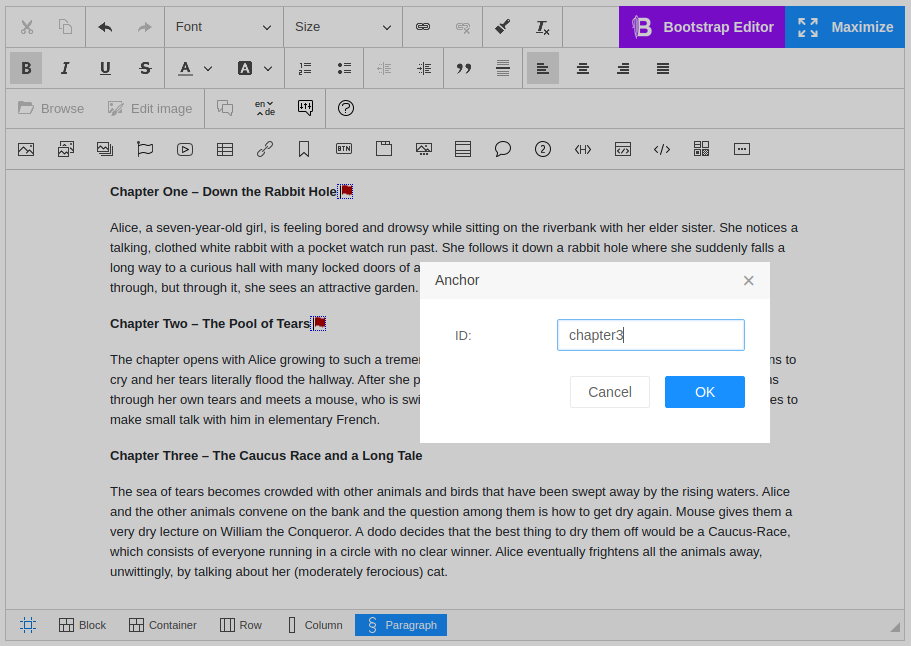
Often use-case is linking every Header to a corresponding place on the current page. Simply insert a link the same way and select the anchor name in the "Anchor" dropdown as shown on the screenshot.
To create a URL with the anchor to another page, add #anchor-id to the URL of the link.